Lesson 6: Interactive Text Fields
Explore ProtoPie's text input options and make your typing interactions as dynamic as possible.

.jpg?fm=webp)
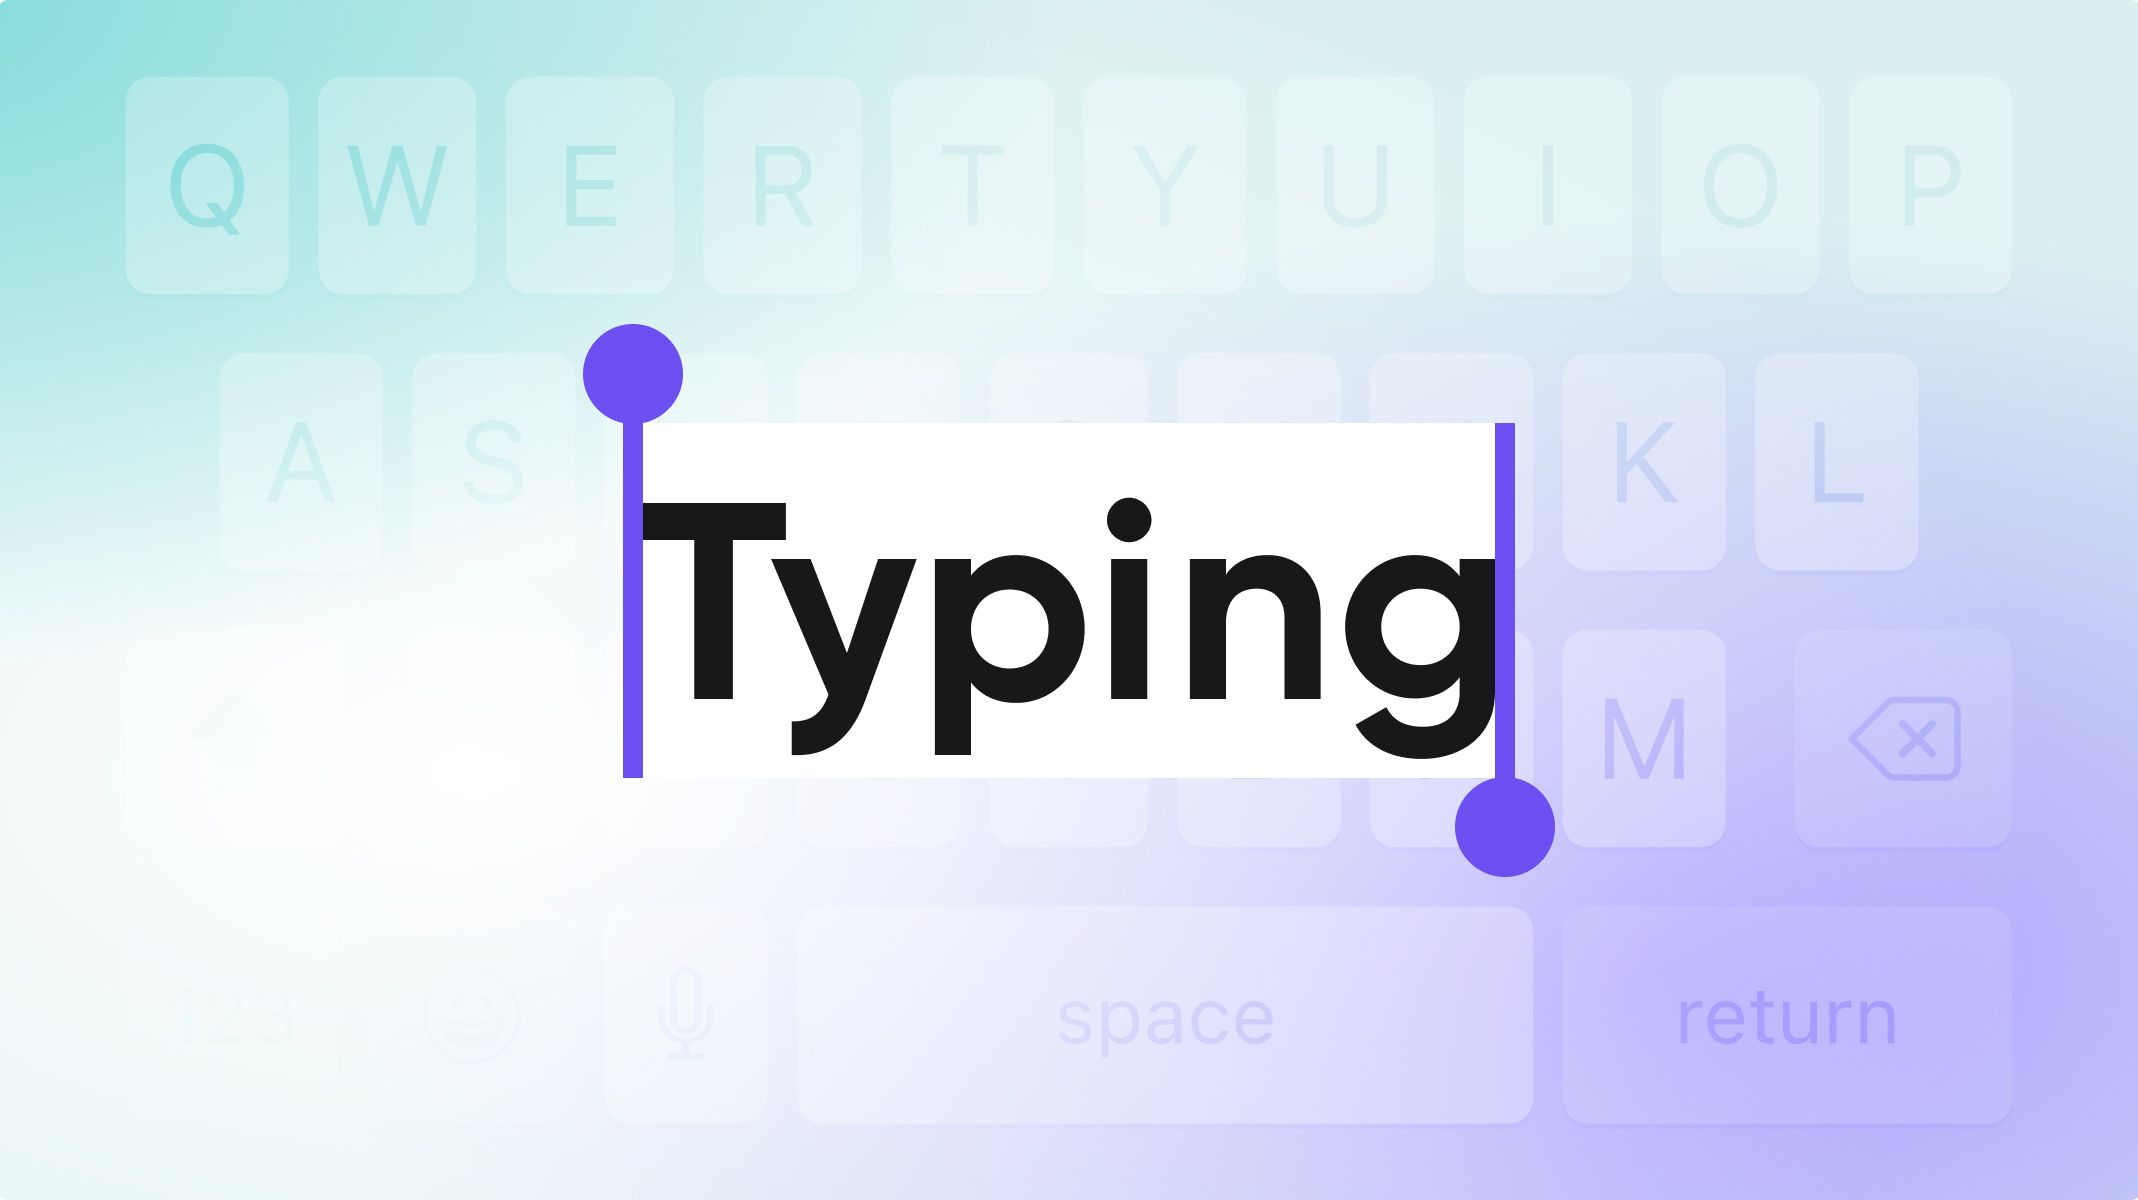
Something you'll want to do quite often when building a prototype is to allow a user to type input into a text field. ProtoPie makes it really easy to do this. In this tutorial, you'll see just how easy it is to allow your users to type in some text and to do something with it.
Overview
- What you'll need
- What you'll learn
- How to prototype an interactive text field
- That's it! Easy as banana cream pie!
- Learn more about interactive text input fields
- Explore more prototyping lessons
What you'll need
To follow along with this tutorial, download this sample Pie and open it in Studio.
We'll also preview the experience as we go directly on our device. In order to do this, you'll need to install the ProtoPie Player app on your phone or tablet. ProtoPie Player is a powerful and free app that allows you or anyone you share your Pie with to run your prototype on their device as if it were a native mobile experience.
What you'll learn
By the end of this tutorial, you'll have learned how to:
- Add a text input box to your Pie (prototype)
- Customize the text input box
- React to your user pressing the keyboard's return key to signify they are done typing
- Build and call a web URL - this will be sneak preview of an advanced ProtoPie feature called Formulas, which we'll be covering in more detail in the next article.
- Preview the experience on your device
Time to complete: ≤15 minutes
How to prototype interactive text fields
To learn how to create dynamic text input fields, check out the video tutorial or follow the detailed step-by-step guide below.
Step 1: Add a text input box
Open the example Pie file. It has a single background image layer that looks like Google's image search UI.

- Look for the Text menu item in the top-left set of icons. Click it and choose Input.
- Drag to draw your input field anywhere you like on stage.

- We'd like the input box to be perfectly sized inside the pill shape in the background.

- Let's rename the text box to be something more meaningful. Double-click the layer, and name it Search. It will be important later that this is named exactly
Search(case-sensitive) so if you've instead just named itsearchwith a lower case s or anything other thanSearch, fix this now.

Step 2: Customize the input box
- We'd like the input box to look seamless against the background. Remove the grey background color from the text box by unchecking the box beside Fill in the properties panel.
- Currently, the text box has the phrase "placeholder" as its placeholder text. You can change it in the properties panel in the PlaceHolder section. Change it to read
search for images.
💡 Pro-tip: You can change the color and opacity of the placeholder text here as well.

- There are more customization options at out disposal. For example, you can choose what kind of keyboard the will appear when you focus the field, and whether the input box should be a password field.

- Choosing Text, URL, Email, or Number will tailor the keyboard to the particular type of information you'd like to capture. For example, if you choose Number, a numeric keypad will appear when you focus the field. Choosing either of the password options will mask the entered text instead of displaying the characters as typed.

- In our case we're capturing a search term. So let's choose Text for Type.
- The second option we have under Keyboard Options is what the label Return key has on on-screen keyboard.

- Lastly if you're designing for iOS, you can choose whether you'd like the light or the dark theme.

Step 3: Preview on your device
In the Studio Preview, click on the text box. You should see the on-screen keyboard appear. Your first instinct might be to click on the keyboard keys in order to type some input. If you try it, you'll see that doesn't work. That just causes the text box to lose focus, hiding the keyboard.
When you preview text entry in Studio on your desktop computer, you need to type with your physical keyboard. The on-screen keyboard is just a placeholder image in Studio.
Let's instead run this on our device so we can type on the keyboard directly. We're going to use the ProtoPie Player app on our device to do so. If you haven't done so already, install ProtoPie Player on your device using the links you'll find above in the What you'll need section.
- In Studio click Device in the set of top-right icons. This will reveal a QR code. Leave this visible, as we're going to need it in a moment.

- On your device, start the ProtoPie Player app. You'll be greeted with this screen:

- Click Scan QR Code and scan the code you revealed above. Your Pie should now start on your device.
💡 NOTE: For this to work your device needs to either be on the same WiFi as the computer running Studio, or your device needs to be connected to the computer running Studio with a USB cable. If your Pie won't start on your device, double check that your phone is connected in one of these two ways.
Tap on the text box on your device. A real keyboard will be displayed that you can type on. You'll either see a native iOS or Android keyboard depending on the device you're using.
Step 4: Add Interaction
We'd like our experience to take action once the user has tapped the Search key in the keyboard, signifying they are done typing (Remember in step 2 we changed the label for the Return key to be Search). We're going to use the Return Trigger to take action when this happens.
- In Studio, add a Return Trigger. In the properties panel, configure it to be associated with the
Searchinput layer.

Any Responses you add underneath this Trigger will fire when the user taps the Return (i.e., Search) button when the Input Layer has focus.
This next little bit might seem cryptic. We're going to use one of ProtoPie's advanced features called Formulas in order to build a URL and send it to a browser. Don't worry if this looks completely foreign to you. We're going to go into much more detail on Formulas in the next article. For now, just follow along step-by-step.
- Add a Link Response. A Link Response can be used to open a web browser tab to a specific URL.

- We'd like to build a dynamic URL using the input the user has typed in order to execute a Google Image Search. Since we don't know what the user has typed until the press Return, we need to build it on the fly. For this we will use a Formula. In the list under Link, choose Formula.

- When you click the box below this drop down, you will see a little
∫xicon. This means you can create a formula for the link's URL! - Click the
∫xicon. The field will expand, giving you more space to type.

Type exactly (including the quotations marks) or copy and paste the following text into the formula field:
"https://www.google.com/search?q=" + `Search`.text + "&tbm=isch"

Before we move on, I'll offer a bit more of an explanation as to what we just did. Whenever you type into an input box, the value of whatever you typed is stored in a property of that layer called text. We created the formula by joining together three bits of text:
- a bit of known text — this part is always the same:
"https://www.google.com/search?q=" - a bit of unknown text — the text property of the Search input box:
`Search`.text - another bit of known text — again, always the same:
"&tbm=isch"
💡 NOTE: Remember in the first step where we named the input layer exactly Search ? In our formula we accessed the Search layer directly by name. Layer names are case-sensitive when you use them in this manner.
Again, don't worry if this looks complicated. We're going to cover Formulas in more depth in the next article. The important takeaway here is that whatever your user has typed into the input box is stored as a property of that layer and available for use in your Pie.
Step 5: Preview again!
To update your device with the latest changes, click Run in the top-right group of icons.
You should now be able to execute an image search. Type whatever you'd like to search for, then tap Search.

You'll notice that when you executed your search, your device switched to your browser app in order to display the results. If you're using iOS there's one more tweak you can make.
- Click the Link Response under the Return Trigger.
- In the properties panel, check Open In-app Browser.

Click Run once more to reload update your device with the latest change. When you execute your search, your browser tab will open within the ProtoPie Player app, and you can tap Done to return to your Search box.

That's it! Easy as banana cream Pie!
In this tutorial, you learned all about text input fields and how you can configure them. You also learned that it's possible to use whatever your user has typed by accessing the text property of the Input Layer. Lastly, you got a taste of the power of Formulas — one of ProtoPie's advanced features. We'll dive right into Formulas in the next article!
Learn more about interactive text fields
- How to Create Interactive Form Fields that Check User Input
- Prototyping an Auto-Formatted Input Field
- Prototyping Text Entry with Validation Using Formulas, Functions #AskProtoPie
Explore more prototyping lessons
If you've been following along with this entire series, you'll remember that the previous article talked about Voice and Speech. Both of these work beautifully on your mobile device. Take a look at all the lessons to enhance your prototyping skills.
- Lesson 1: Start Using ProtoPie in 3 Steps
- Lesson 2: How to use Interaction Recordings to Collaborate with Developers
- Lesson 3: How to Create and Share Interaction Libraries with Designers
- Lesson 4: How to Prototype Voice Interactions
- Lesson 5: How to Prototype Camera Interactions
- Lesson 6: How to Create Typing Interactions
- Lesson 7: Formula Basics I
- Lesson 7: Formula Basics II
- Lesson 8: Using Variables I
- Lesson 8: Using Variables II
You want more? Sign up for ProtoPie School to become a prototyping pro and earn a certificate for free!
Create interactive text fields with ProtoPie
Are you ready to get started prototyping? Then download ProtoPie for free, and start creating prototypes with interactive text input.
.jpg?fm=webp)

