Lesson 4: Voice Interaction
Give your interactions a voice with text-to-speech, speech-to-text and over 40 languages available all in ProtoPie.

-Voice.jpg?fm=webp)
If you've ever wanted to prototype a voice experience, say a digital assistant or an in-car hands-free voice system, you're in luck! One of ProtoPie's standout features is its ability to create voice interactions. Voice has become ubiquitous in our everyday interactions with technology, and is incredibly important in terms of accessibility. In this tutorial, you'll learn how to create your own fantastic voice interactions in a matter of minutes. You'll be amazed at how easy and quick it is to do this!
What you'll need
To follow along with this tutorial, download this sample Pie:
What you'll learn
By the end of this tutorial you'll know how to do the following:
- Use the Speak response to have ProtoPie speak whatever text you like
- Use the Listen response to have ProtoPie listen for your spoken input
- Use the Voice Command Trigger to have ProtoPie respond to specific spoken words and phrases
Time to complete: ≤15 minutes
Step 1: Let's make ProtoPie speak!
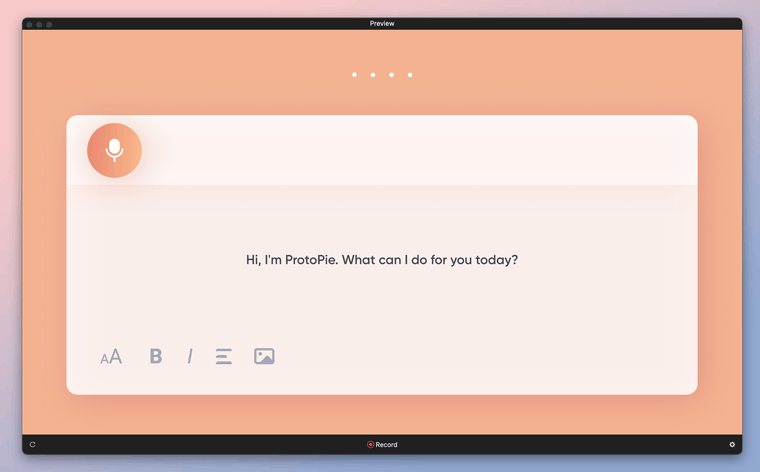
Open the sample Pie you downloaded above in Studio. Let's have ProtoPie greet you when the interactions starts.
- Add a Start Trigger
- Add a Speak response to your Start Trigger.
- Let's have ProtoPie speak the text that's already on the screen. Copy the contents of the Text Layer named
pieText 1.

- You should hear a preview of what the spoken text will sound like. You can choose whether you'd like a Male or Female voice in the Voiced By drop down. Change the voice property to hear a preview of your text spoken under the new voice.

By the way, ProtoPie cares deeply about inclusion and accessibility. As such, you can have ProtoPie speak any of 40 different languages — great for creating localized experiences, and even better for tailoring your interactions for those with vision impairments. See what languages are available in the Language drop down.

- Preview your Pie. You should be greeted with ProtoPie speaking "Hi, I'm ProtoPie. What can I do for you today?"
Step 2: Start Listening
Now let's have ProtoPie start to listen for your response. We'll make it so that tapping on the microphone icon causes ProtoPie to start Listening.
- Add a Tap trigger to the
mic_onLayer. - Add a Listen Response to the Tap Trigger.

- By default ProtoPie will stop listening after you finish speaking. However, if you'd like ProtoPie to continue to listen even after you've paused speaking, you can check the box beside Continuous. In our case, our voice command will be brief. So let's leave this unchecked.

If you preview this now, you'll notice nothing much has changed. Except you'll see a small difference when you click the microphone icon.
A small flashing microphone icon appears in the lower-left corner of the Preview status bar. That's how you know ProtoPie is listening for your speech input.
Step 3: Add your voice commands
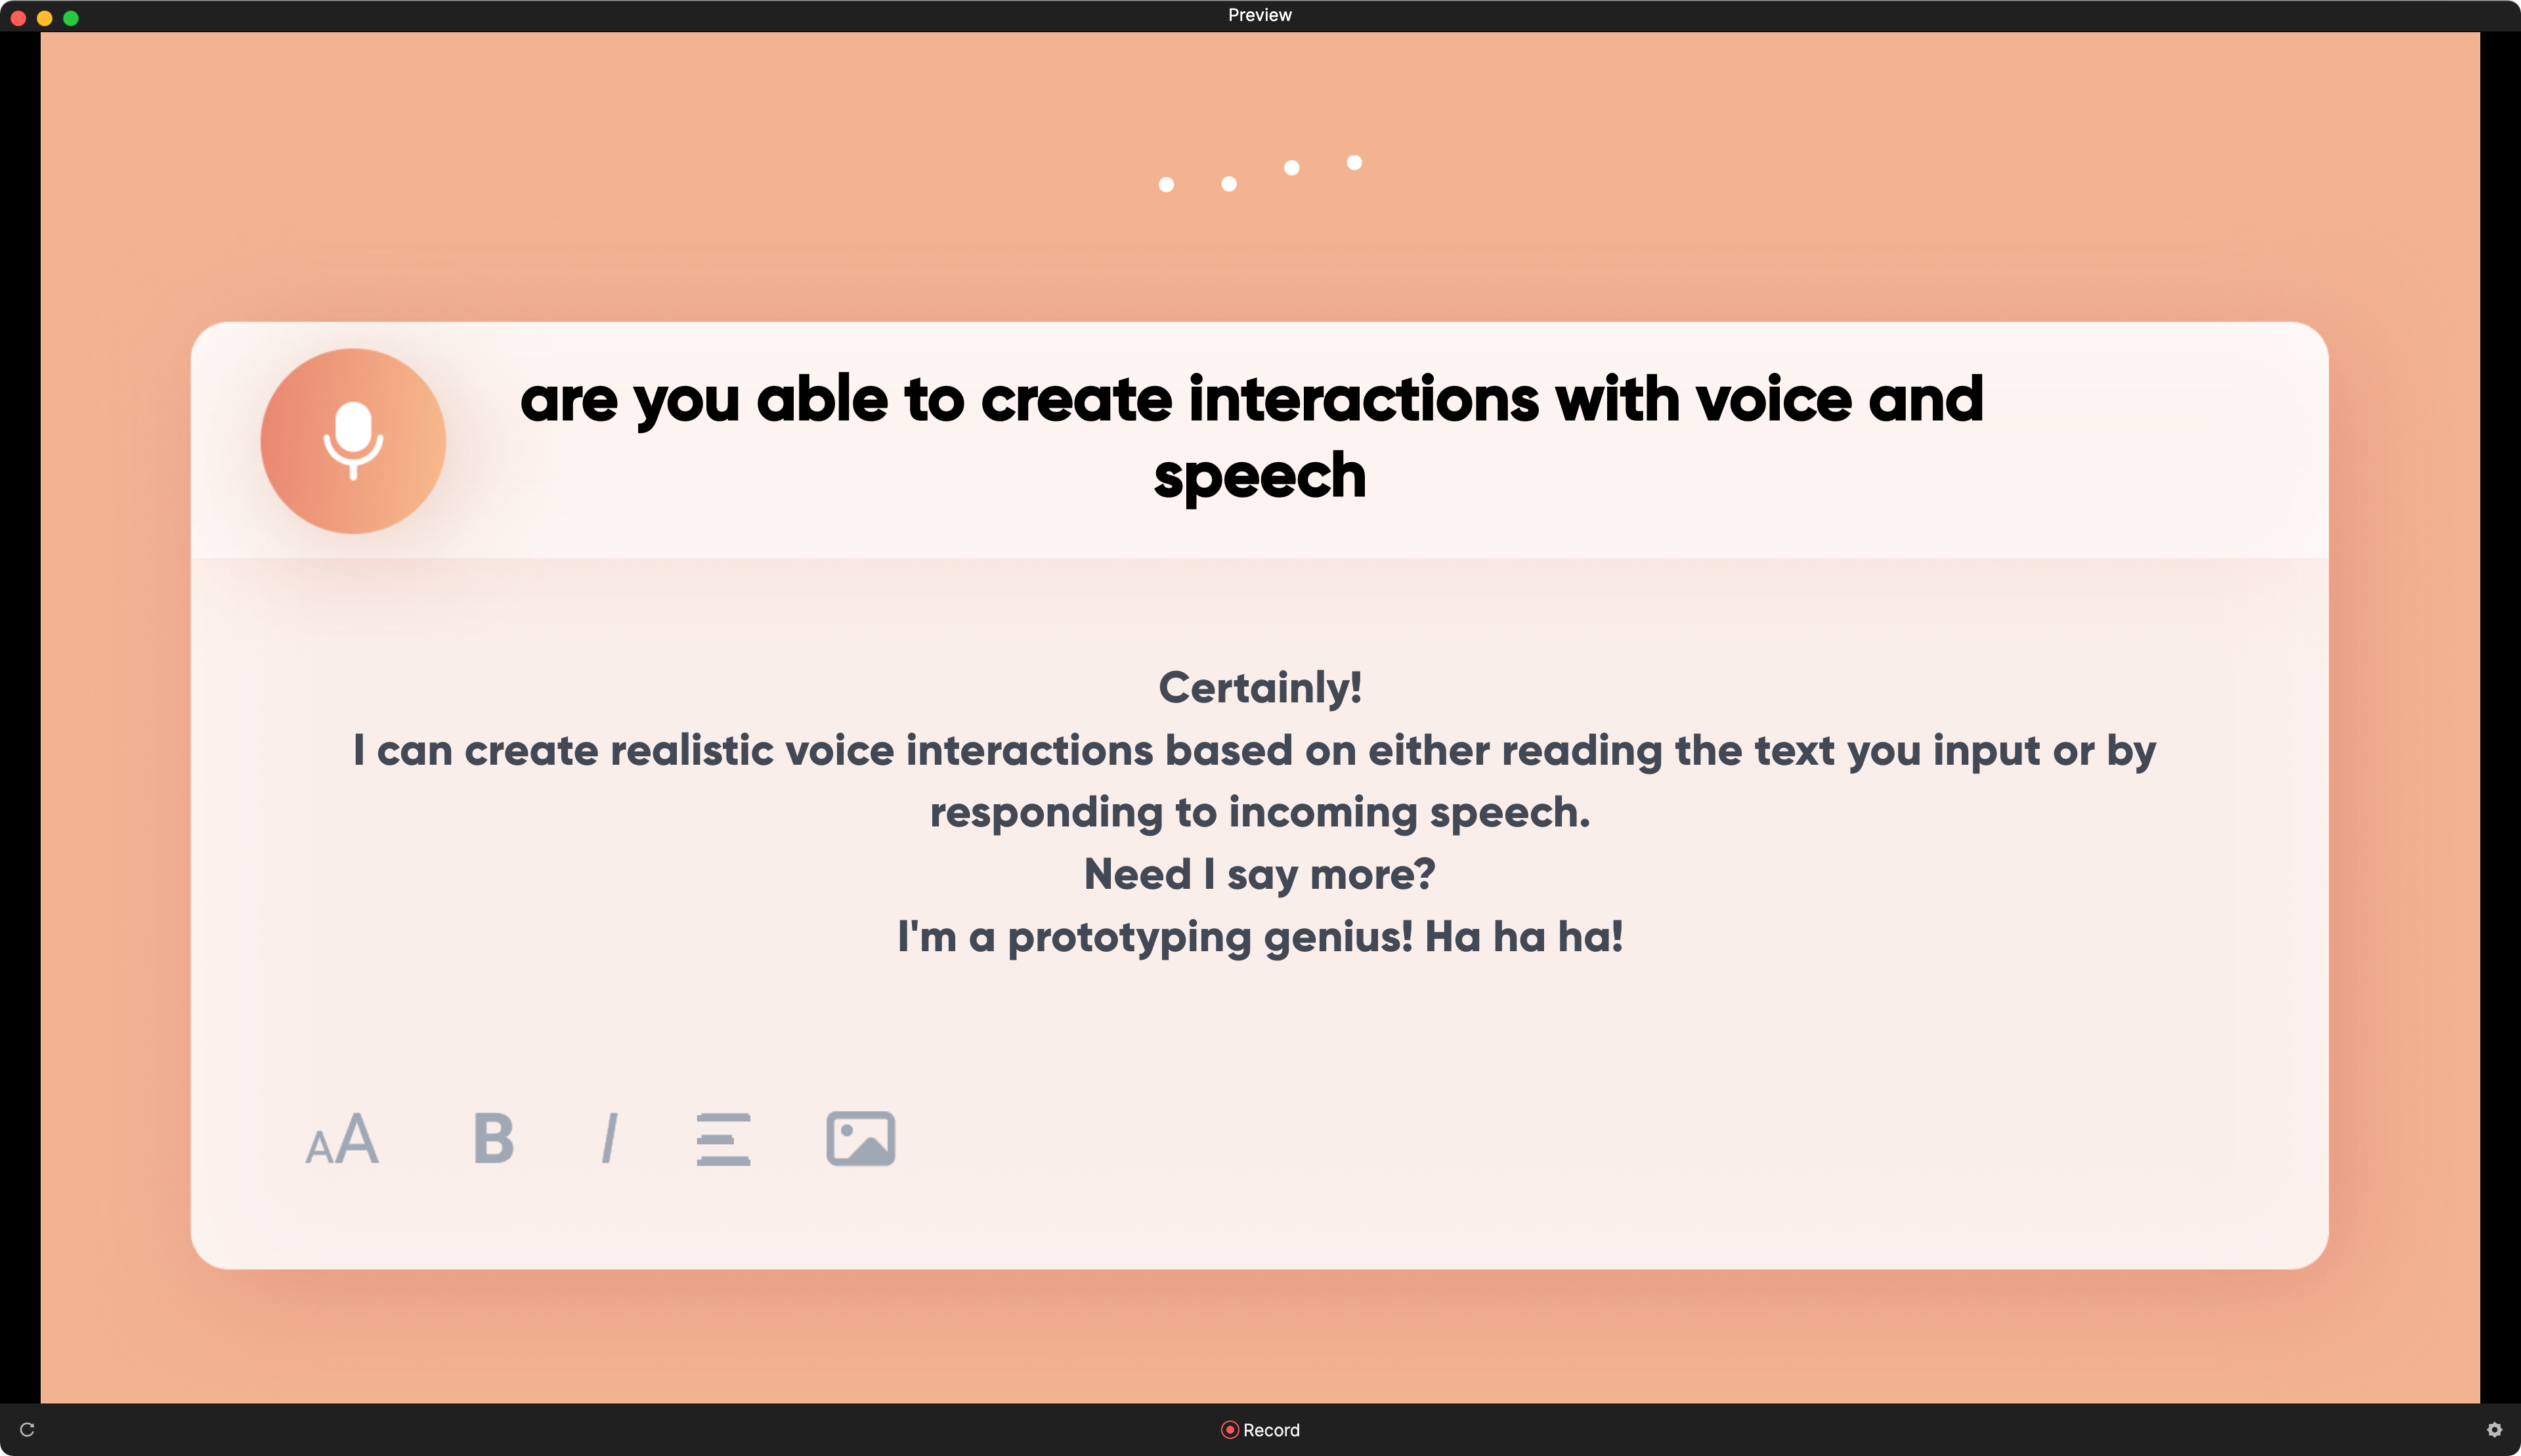
Here's where the fun starts! Let's create a voice command. We'd like to ask ProtoPie about voice prototyping capabilities, a question like "Are you able to create interactions with voice and speech?"
- Add a Voice Command Trigger.
- Under the Trigger Point heading, you'll see two options:
- While Speaking instructs ProtoPie to respond to a word or phrase as soon as it is recognized, even if you're still speaking
- After Speaking instructs ProtoPie wait until you've finished speaking before responding.
- In our case, we'd like ProtoPie to politely wait until you're done asking your question, so we'll choose After Speaking.

In the Command box, here is where you can enter the text to be recognized. You could enter the full question as I've described it above, but you don't need to. ProtoPie allows you to be flexible enough to accommodate various different ways the question might be asked. In our case what we really care about are words like voice and speech. So we can configure this Trigger to respond to either of those words.

I've added the word talk and the phrase spoken command into the list of words and phrases ProtoPie will recognize for this Trigger to fire. This would accommodate for questions such as "Can you respond to a spoken command?" or "Can you hear me talk?"
Now that we have our Trigger set up, let's add some Responses to fire when ProtoPie recognizes your command.
- Let's have ProtoPie speak a response. Add a Speak Response, and configure it with the following text:
- Certainly! I can create realistic voice interactions based on either reading the text you input or by responding to incoming speech. Need I say more? I'm a prototyping genius! Ha ha ha!
- Be sure to choose the same voice as you did in step 1 so that everything sounds consistent.
- Let's also show ProtoPie's response on screen as it is spoken. Add a Text response. Choose the
pieText 1Layer, and update it with the same text as above.
Let's preview this. Your interaction will start with ProtoPie speaking a greeting. Click the microphone icon and ask your question. Try any variation of your question that has to do with speech or voice. As long as your question includes at least one of the words or phrases you've specified in the Voice Command Trigger, ProtoPie will respond.
Step 4: Add Feedback
Our interaction is now working, but it would be great if we could reflect back exactly what you spoke on the screen. ProtoPie includes a predefined variable called $voiceTranscript that records every word you speak while ProtoPie is listening. We can use this to write to the screen your spoken question.
- Add another Voice Command Trigger. It's OK to have more than one Voice Command active at the same time. In fact this is the key to making robust voice interactions. Make separate Voice Command Triggers for different scenarios.
- Since we'd like your question to be displayed on the screen as you speak it, this time choose While Speaking as the Trigger Point.

Additionally, this is not going to be listening for a specific command. We want this Trigger to fire regardless of what has been spoken. Therefore, uncheck the box beside Command.
- Now add a Text Response. Choose
userTest 1as the target Layer. - Under Content, choose Formula, and in the box below type $voiceTranscript.

Preview this. When you click the microphone icon, you should see what you speak appear on the screen as you speak it.
.png?fm=webp)
Easy as Pie!
It really is that simple to create voice interactions with ProtoPie. In just a few easy steps you learned how to make ProtoPie speak and listen for your voice input using the Speak and Listen Responses. Then you used the Voice Command Trigger to respond to specific spoken words and phrases. Finally you used the predefined variable $voiceTranscript to display exactly what you spoke on the screen. And it didn't even take that long at all!
A quick note before we go
ProtoPie's voice capabilities are still in beta. Therefore, some things might not work as you'd expect. For example, if you publish your Pie to the cloud, the Speak triggers won't work in the web browser preview. So you'll need to either use ProtoPie Studio or the ProtoPie Player app for your device in order to use Speak Triggers. Also you need to have an active internet condition for speech recognition to work. Read more details here.
Resources
- Voice Prototyping Examples: A blog post about prototyping with voice with several working examples
- How to create an In-Car Voice Control prototype: Explore how to use our voice prototyping and hardware integration features to design a voice-controlled in-car experience.
- Voice Prototyping Workshop
- Giving voice to the blind – Why innovation defies accessibility


