Prototype a Scroll View (Starting at the Bottom) for a Messaging App
Learn how to create a vertical scroll view and a scroll effect starting from the bottom of a messaging app.


Introduction
A vertical scroll view is a pattern that is commonly used in messaging apps to show a conversation between users. The purpose of the scroll effect is that it allows users to easily check the latest updates in a conversation. Scrolling starting from the bottom lets users start with the most recent update and then scroll up to see all the previous messages.
ProtoPie makes creating this effect easy to achieve with the use of a scroll container and its property.
What you will learn
- Create a scroll container to make a scrollable view
- How to set the initial state of the scroll view
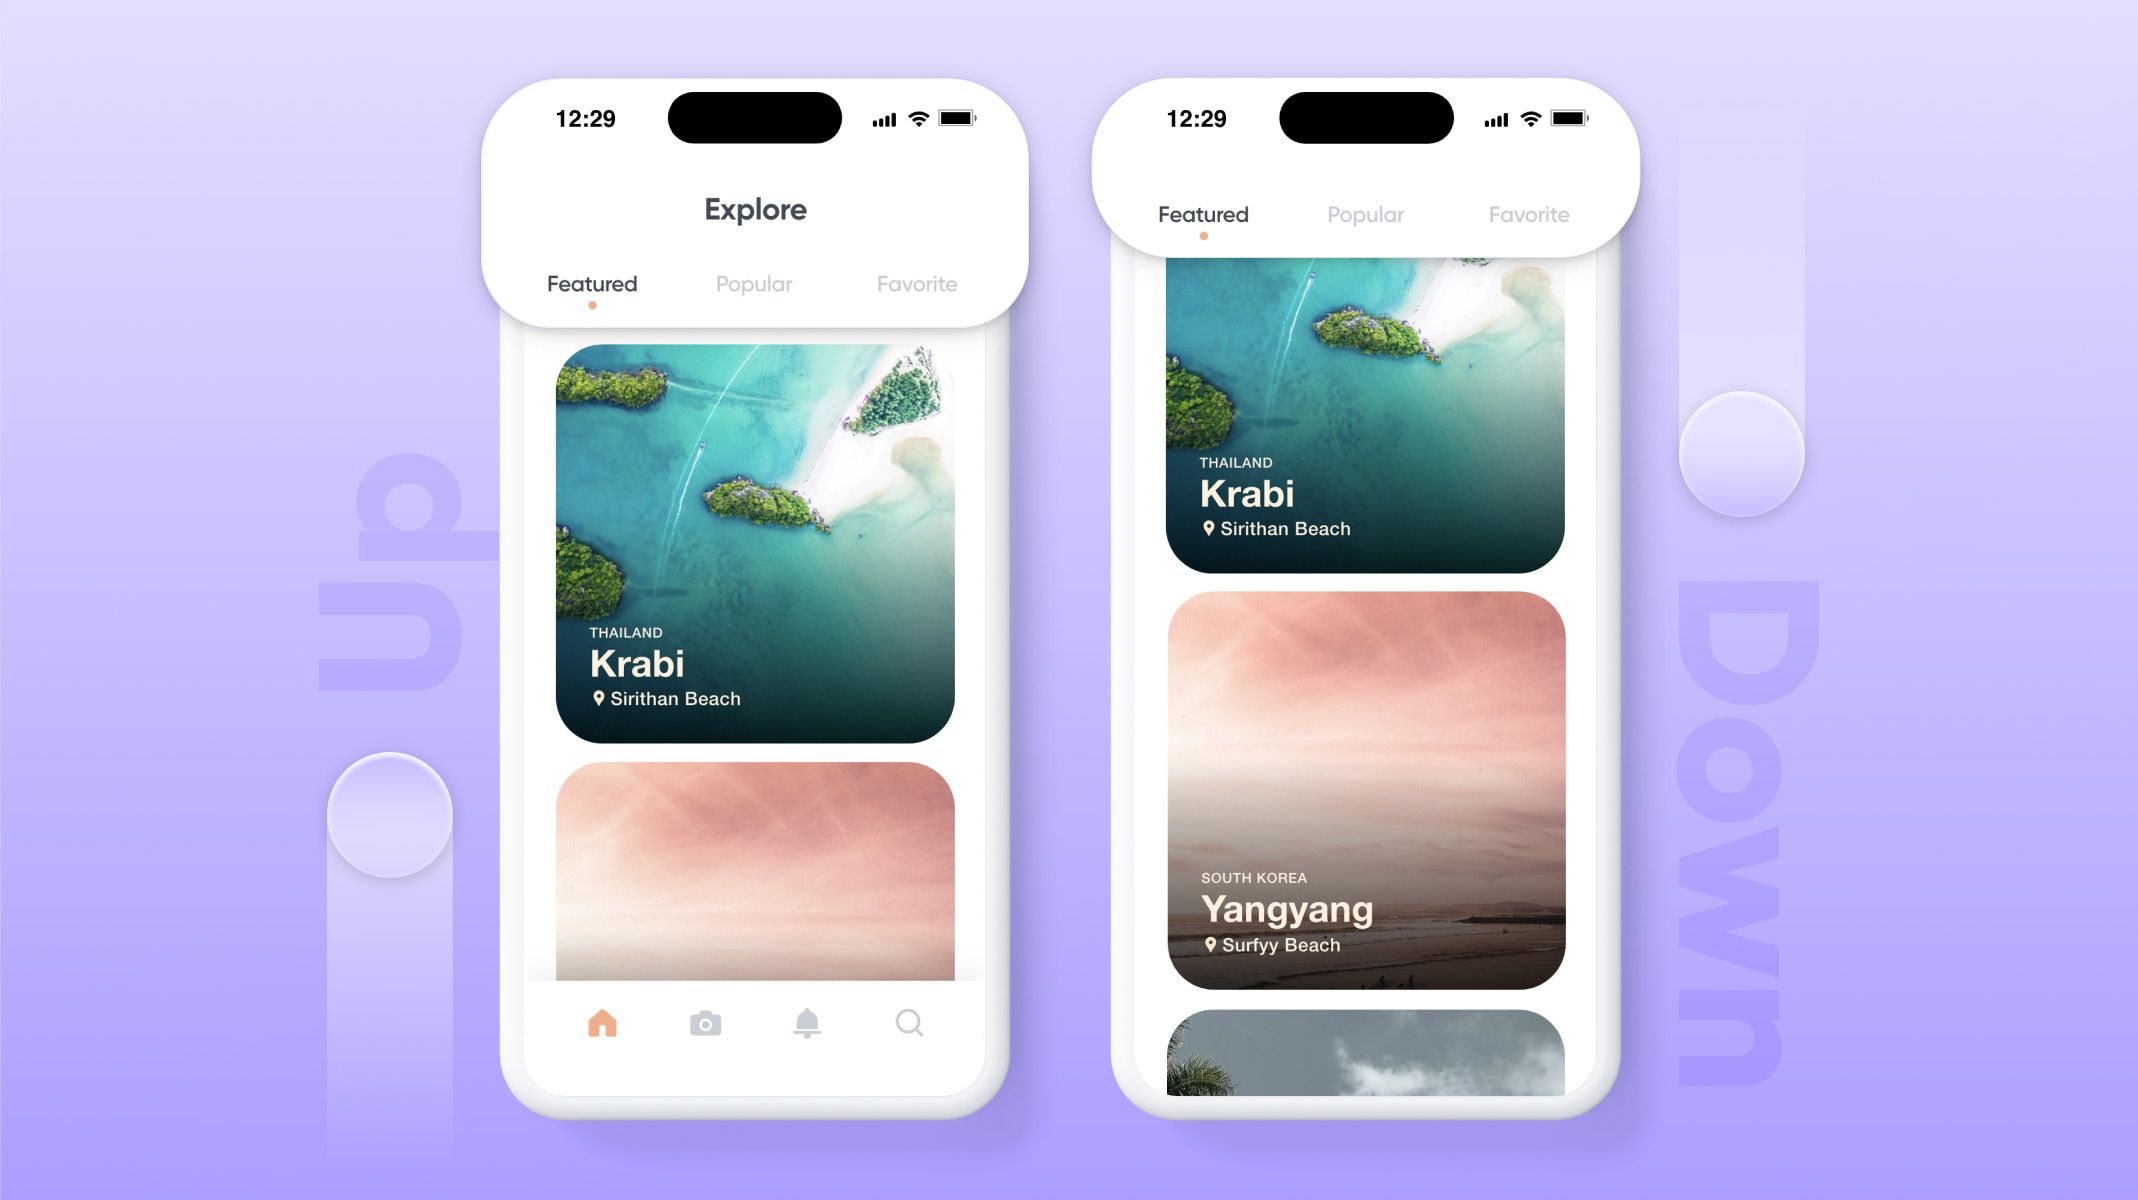
In the end, you will be able to make something like this!

Step-by-step instructions
1. Create a scroll container to make a scrollable view
- Add a Scroll Container between the groups Header and List. The scroll container makes the scroll effect happen by moving properties in a layer simultaneously up and down. You want the List layer to have the scroll effect, so placing the scroll container between Header and List will make for an easy drag while keeping the other grouped layers in order.
- Click the align-to-top button and set the width and height both at 100%. This will resize the scroll container to fill your entire canvas.
- Go ahead and rename the scroll container to Scroll for good organization practice.
4. Drag the List group into the scroll container. Only elements that need the scrolling effect should be placed into the scroll container. Dragging the List group inside the scroll container tells ProtoPie to simultaneously move those elements up and down. In your preview mode, you can now scroll the List layer up and down. You are off to a great start!

2. Set the initial state of the scroll view
In preview, you will notice the scroll view starts at the top, but you want to start at the bottom with the most recent message. With your Scroll container selected, go to the scroll container's property panel and set the scroll value to 250.
The scroll property value establishes where the contents within the scroll container are. Increasing the value of the scroll property moves the contents up. With a property value of 250, the messages shift up with the most recent message at the bottom.
💡 Tips & Tricks
Resizing the height of the List container will make list elements stay in the position you want. As you might notice, when the list scrolled up, the layer resets to a position that hides the last message behind the Add a comment input. This is because the List is short enough to fit the scroll view on the canvas. Lengthening the list container will add a margin at the end of the list and hold the list in the correct position when it resets.
When using the method, make sure the constraints of the List are set so that resizing the container won't distort the elements inside.

That's it!
You've learned how to create a scroll container and set the initial state of the scroll view. In this demo, you set the scrolling to start at the bottom, but you can certainly start the scrolling at the top or middle depending on your design. It is a great skill that you'll reach for many times in your ProtoPie toolkit!
Did this use case tutorial help you? Take part in this 1-min survey to help us to improve our educational content.

.jpg?fm=webp)
