How to Create a Sticky Header that Responds to Scrolling
Ever wanted to show or hide your app's header based on the direction of scrolling? Here's how to do so, using a simple condition and formula.

.jpg?fm=webp)
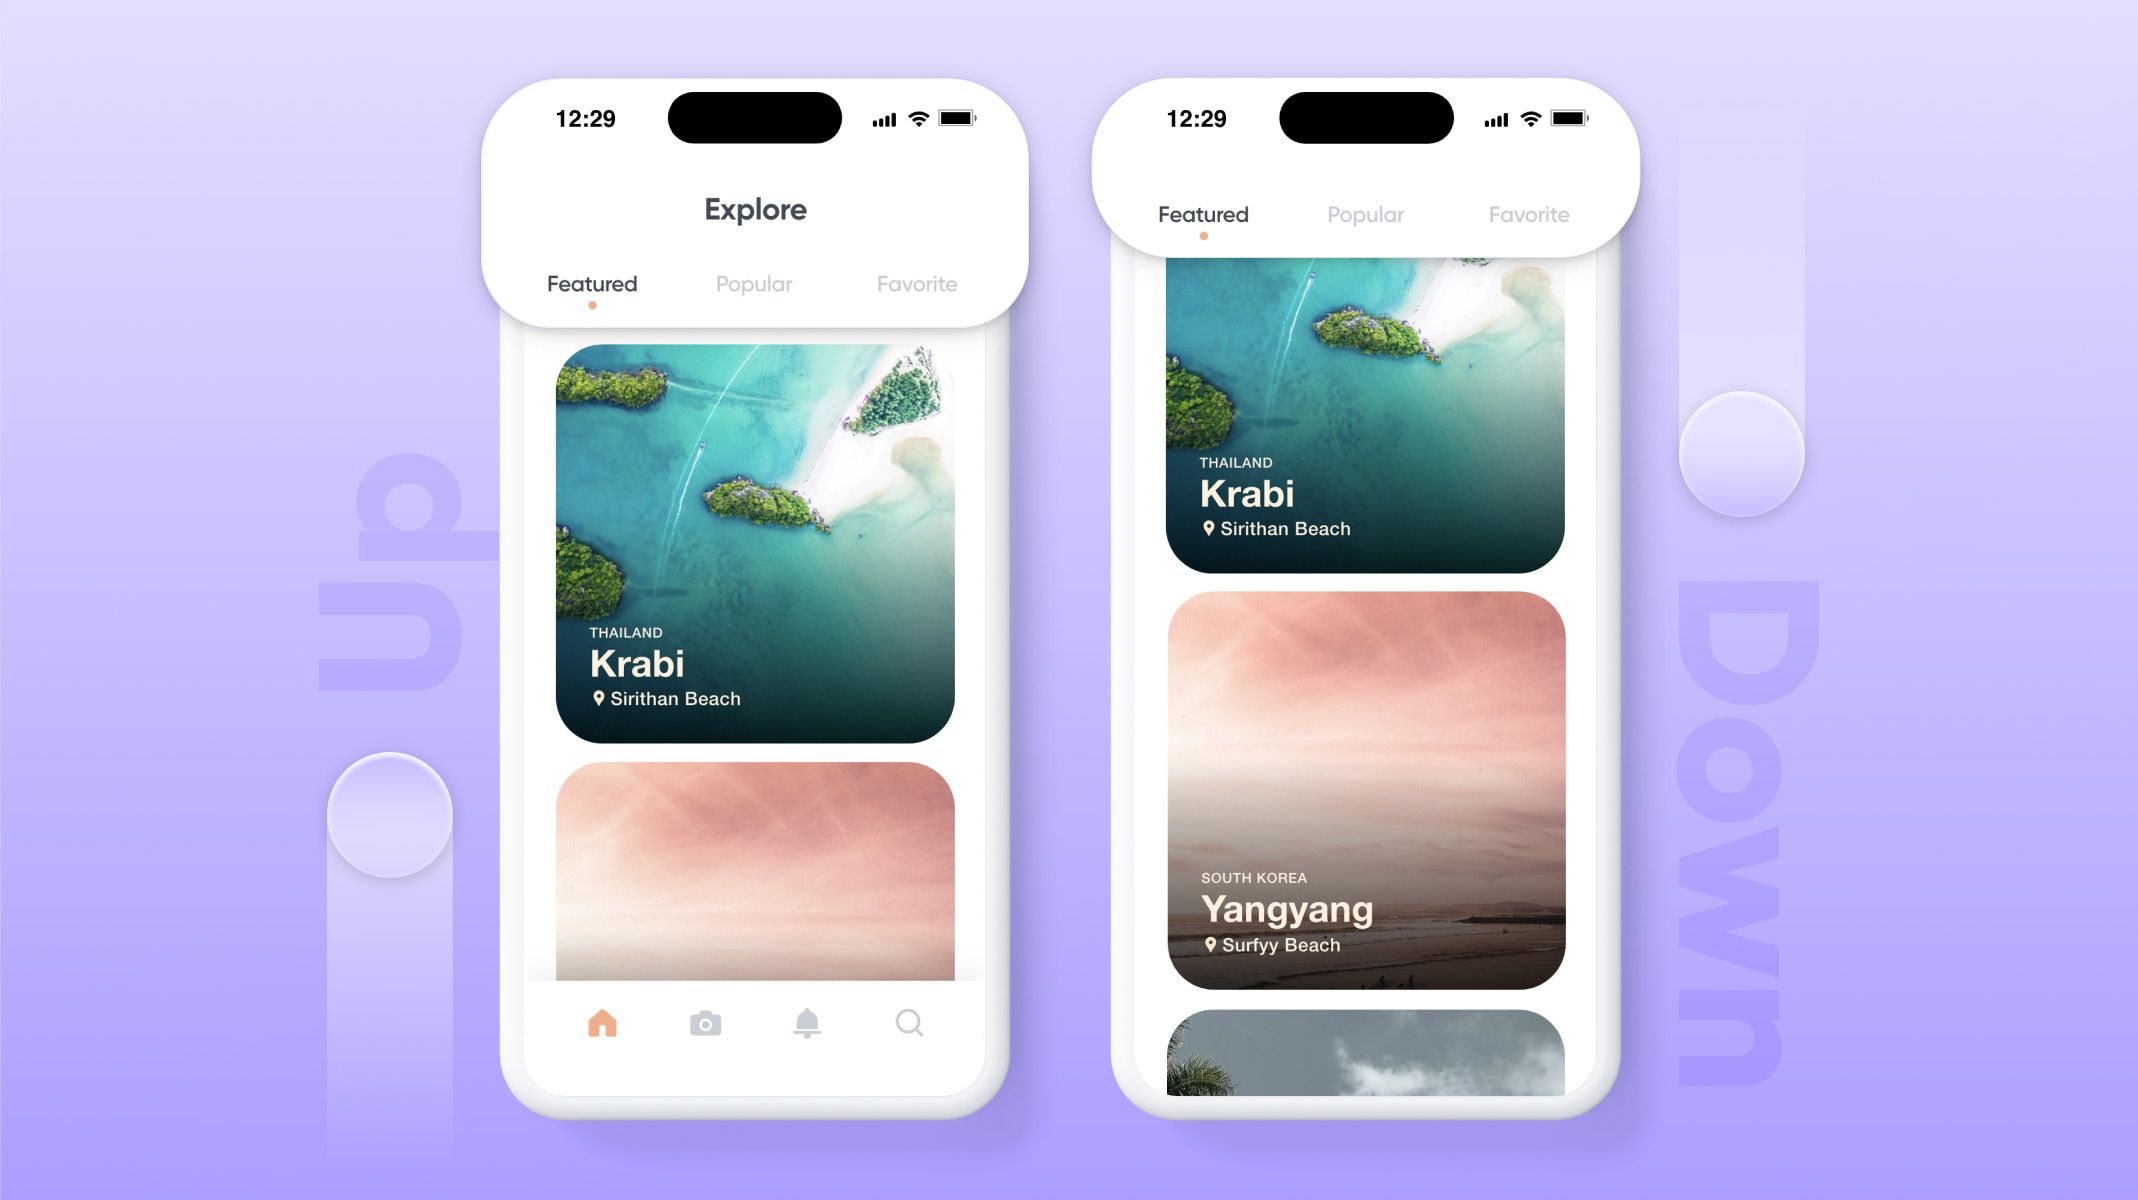
You might have noticed a lot of mobile apps using the sticky header experience. Take the web browser for instance — when you scroll downward, the header and surrounding buttons shy away, but when you scroll upward, they slide back in. This experience allows the user to fully be immersed in the page, whether it's a feed of photos, an intriguing blog post, or even a list of items to explore while shopping.
Partly (or fully) hiding the header while scrolling downward helps the user see more of the content on screen. This is what makes it such a delightful and popular experience. But what's even more delightful is how easy it is to create that realistic experience in ProtoPie. All it needs is a condition to checks the direction of scrolling. Thanks to ProtoPie's inbuilt formulas and conditioning functionality, you will be able to perfect this experience in no time!
Overview
- What you will learn
- Step-by-step guide to creating a sticky header
- Tips and tricks
- That's it! You prototyped a sticky header
What you will learn
- Create a scroll container to make a scrollable view
- Detect the scroll property of the scroll container
- Use a condition and the
$touchVelocityY > 0and$touchVelocityY < 0formulas to check scroll direction - Add separate interactions based on scroll direction
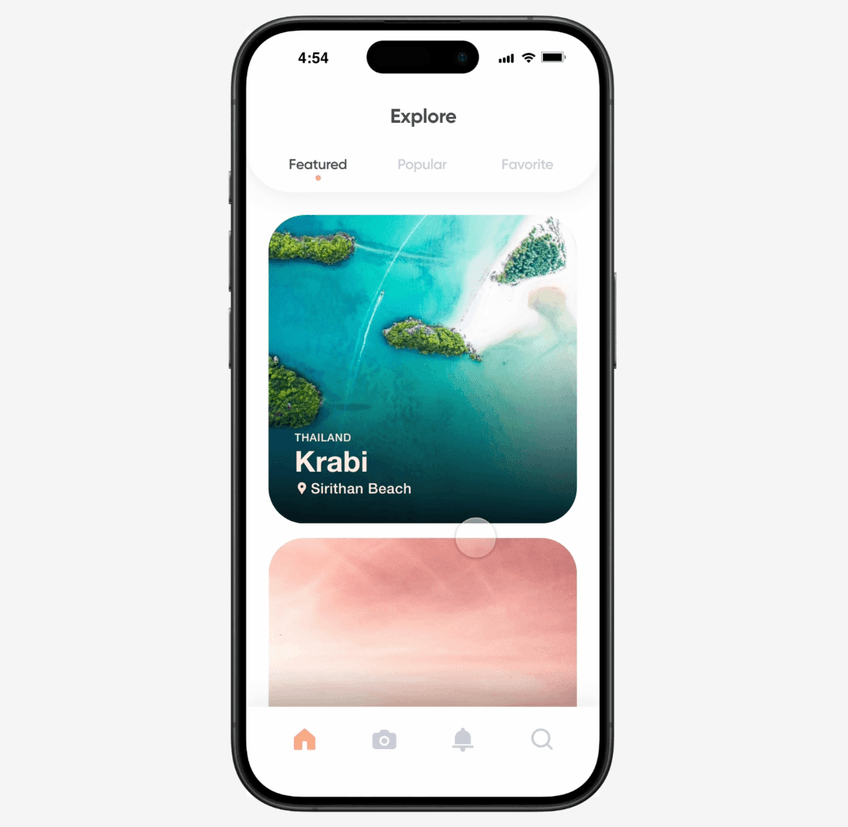
In the end, you'll be able to make something like this!
Step-by-step guide to creating a sticky header
1. Create a scroll container to make a scrollable view
Here, we will create the basic page that will have scrolling enabled.
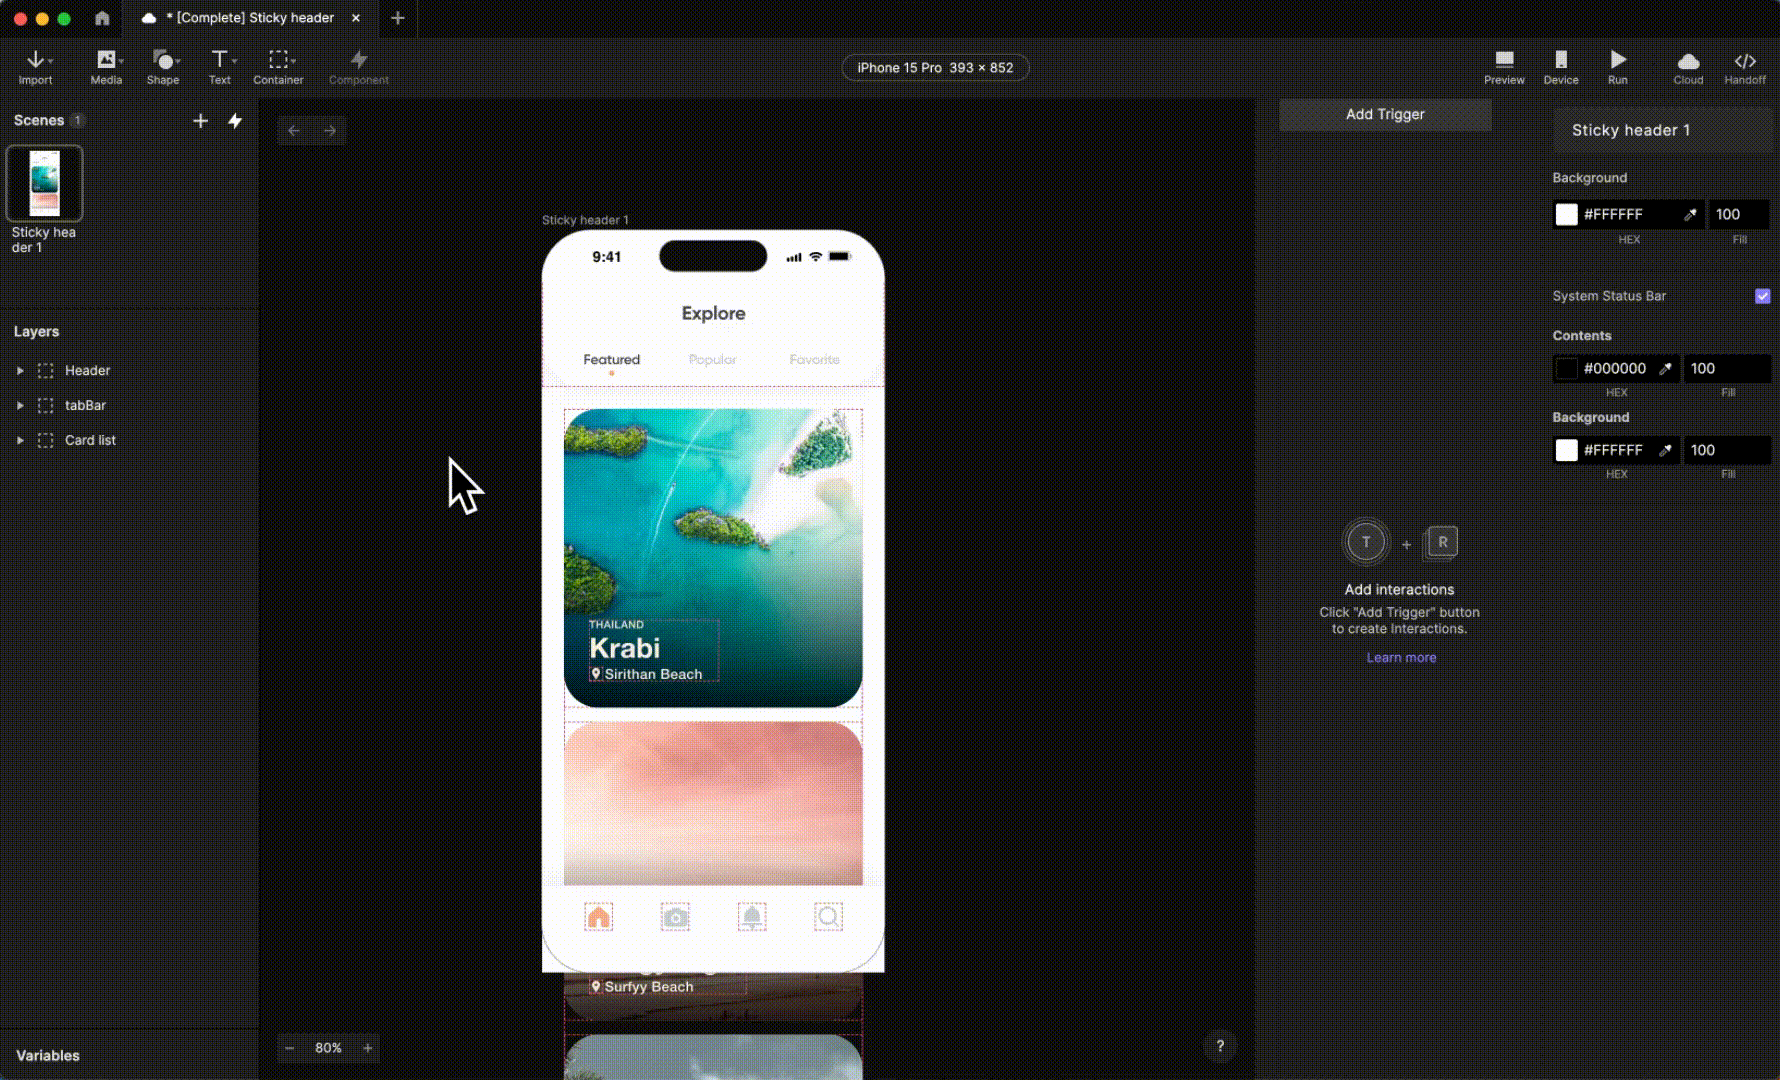
- From the toolbar, go to Container, and then select Scroll Container. This will create a container with scrolling enabled. Let's rename this container to "Scroll". This will help us find the container as we go forward.
- Scale the container Scroll by dragging one of the corners until it is big enough to cover the screen. Alternatively, you can enter 393 x 852 for dimensions, and set the position to 0,0. We need to scale the container to fit the screen because scroll detection can happen only where the container exists. For this example, we will use the full screen.
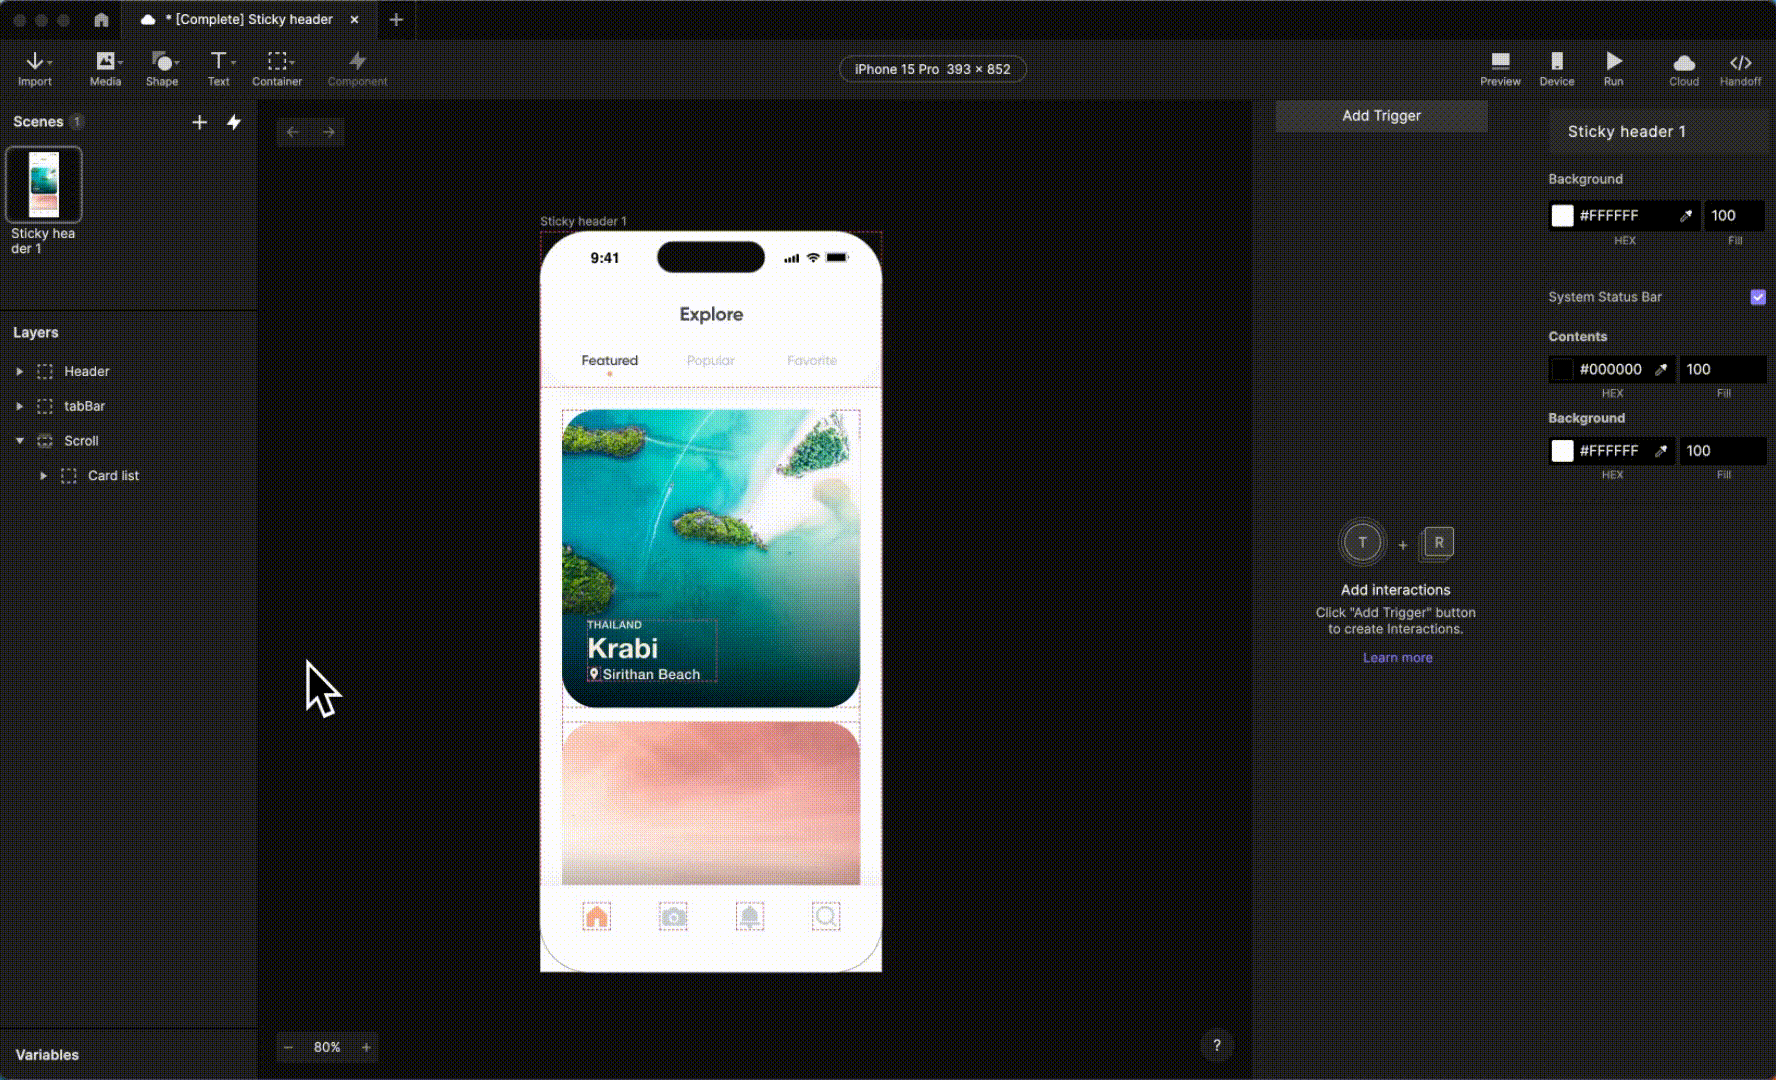
- Reorder the Scroll layer to be right above the Card list layer by dragging Scroll in the layers panel. This will help in preventing unwanted taps where the cards are not visible.
- Now drag the Card list layer inside Scroll in the layers panel. This is the final step that will allow the Card list layer to become scrollable.
- Try it out by pressing Preview on the toolbar.
2. Detect the scroll property of the scroll container
This step will help the interaction work whenever the content is scrolled in the scene.
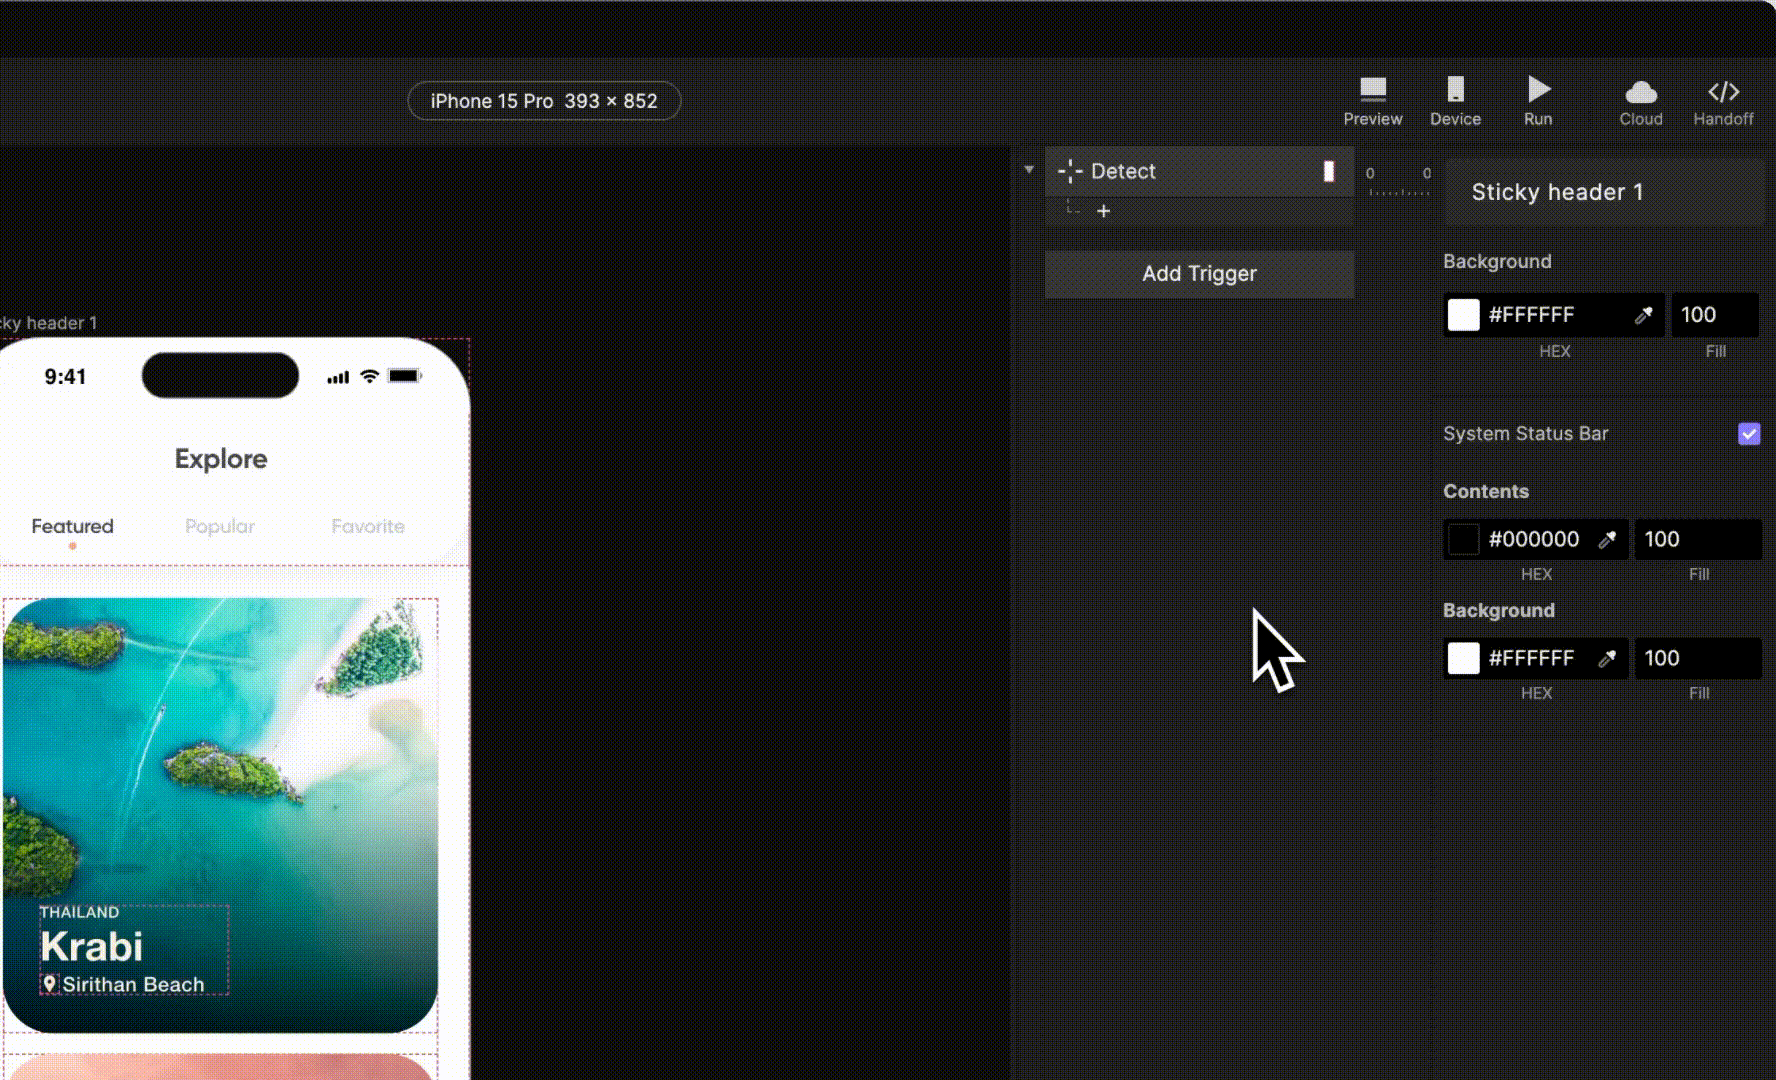
1. In the interaction panel, click Add Trigger, and add Detect. In the trigger properties panel, make sure the layer selected is Scroll, and change the default value from X to Scroll.
- Changing the value to Scroll makes the trigger detect any changes to the scroll position of the selected layer. If we had chosen X instead, the trigger would detect any changes to the X position of the selected layer. But the X position of the layer Scroll isn't changing at all, so the Detect trigger would not result in any response.
3. Use a condition and formula to check scroll direction
Now that we can detect when scrolling occurs on the layer Scroll, we will set up a condition to allow different responses based on the direction of scrolling — upward, and downward.
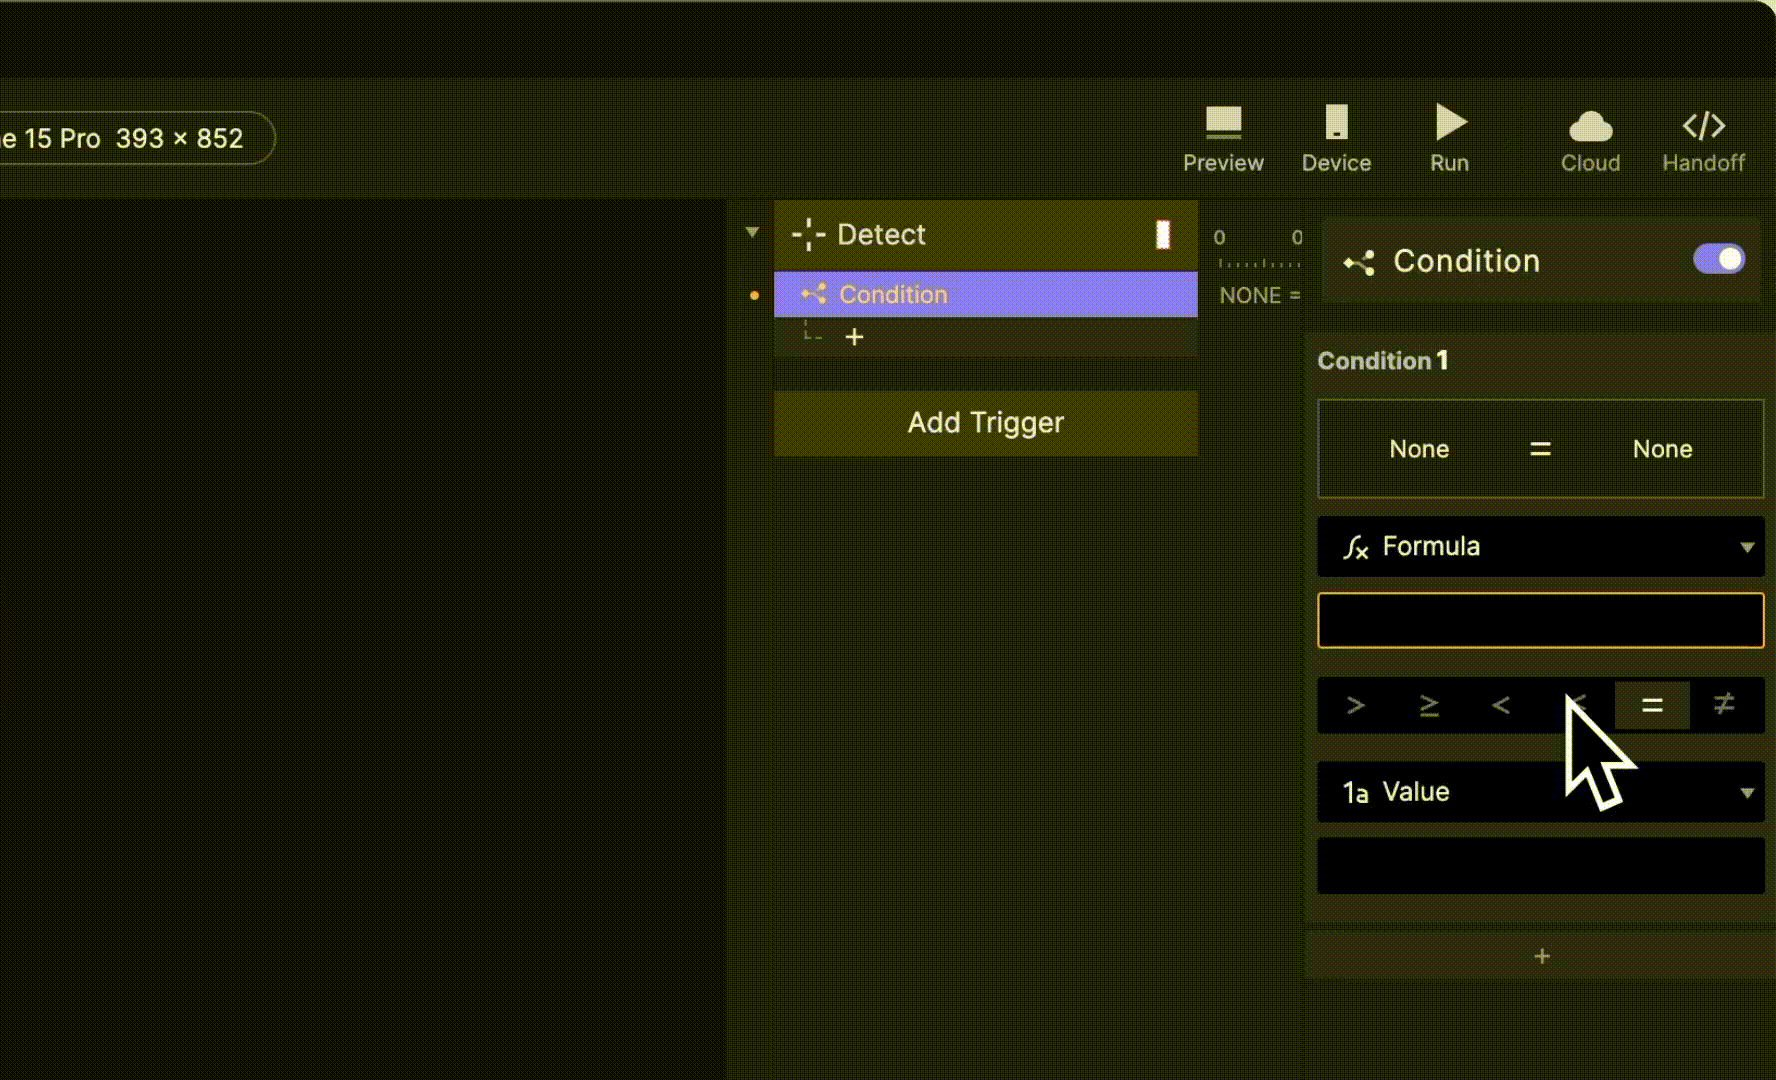
- In the interaction panel, under the Detect trigger, press + to add a new response. Choose Condition.
- In the condition's properties panel, click on the layer dropdown, and change it to Formula.
3. Click on the formula bar, and tap on fx to bring up the formula helper. Type: $touchVelocityY
$touchVelocityY returns the velocity of a touch using a finger (or mouse) that is in movement (along the Y axis). Because of this, it can also tell us which direction the movement is happening in. For example, scrolling downward will have a value < 0, and scrolling upward will have a value > 0.
$touchVelocityY will check the entire screen for touches.
4. Add separate interactions based on scroll direction
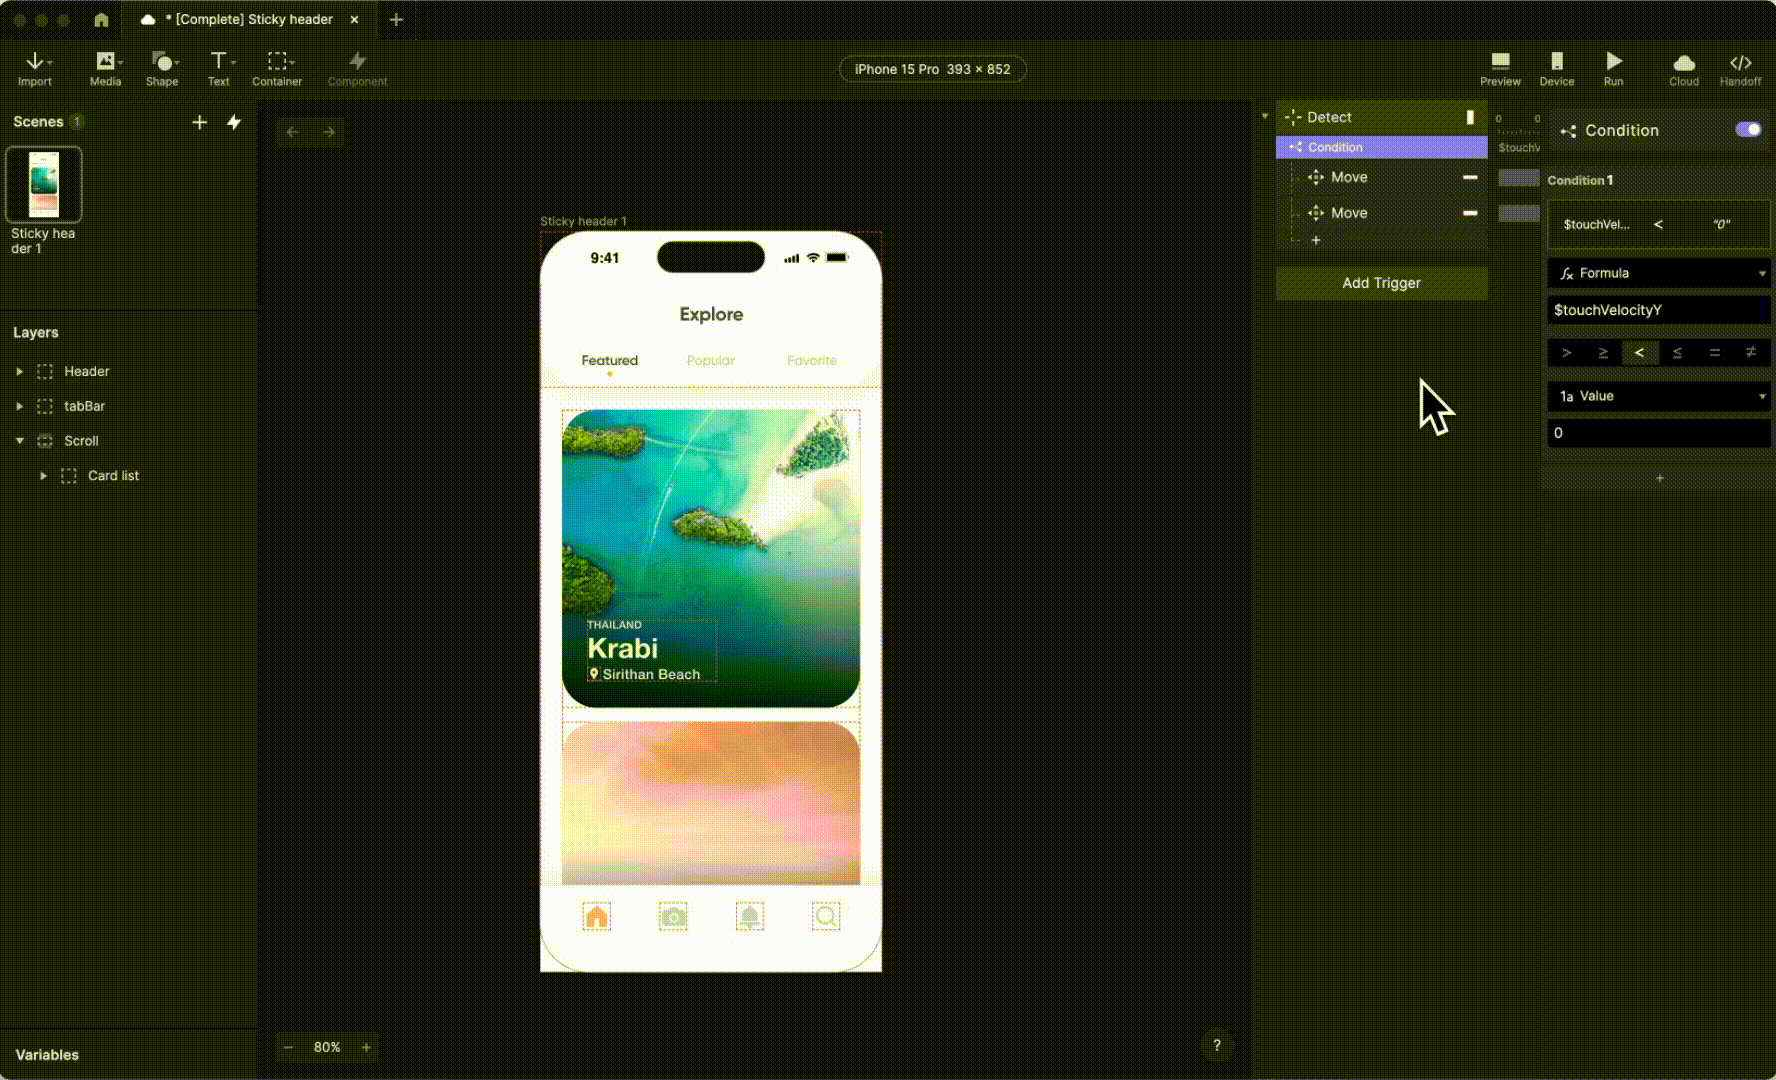
- For the first condition, we want to set up an interaction when content is being scrolled downwards. From the condition's properties panel, select < (less than), and set the value to 0. In the interaction panel, you will see the condition
$touchVelocityY < 0. This means that all responses under this condition will work when the touch velocity is negative, or, in other words, when scrolling downward. - In the interaction panel, click + under Detect, and add a Move response. Select the layer tabBar, and set it to Move To the position 852 on the Y axis. You can leave the X coordinates empty. This moves the tabBar layer to the bottom of the screen when scrolling downward.
- We also want to move the Header layer. So, in the interaction panel, click + under Detect, and add another Move response. This time, select the layer Header, and set it to Move To the position 0 on the Y axis. This moves the Header layer to the top of the screen when scrolling downward.

Finally, we want to bring the two layers back when scrolling upward. Click + under Detect, and add another Condition. Input the formula $touchVelocityY once again. But this time, select > and set the value to 0.
In the interaction panel, you will see another condition that says $touchVelocityY > 0.
This will help set up an interaction for when the scroll direction is upward. Now you can repeat the earlier Move response and move the two layers back to their original position, or use the (very cool) Reset response as detailed ahead.
💡 Tips and tricks
Instead of using the Move response again during upward scrolling, we can maximize efficiency by using the Reset response.
- Click + under Detect, and select Reset. Set it to the layer tabBar. For a more realistic transition for this case, set the Easing to Ease out. Repeat the same, add another Reset response, but set it to the layer Header.
- The Reset response resets the selected layer and makes it go back to its original position and state.
That's it! You prototyped a sticky header
Now that you've mastered creating a sticky header in ProtoPie, you're well on your way to building more dynamic and interactive prototypes. Don't stop here—explore the full potential of ProtoPie and bring your creative ideas to life.
.jpg?fm=webp)

