Create a Draggable Map Prototype in ProtoPie
This tutorial will teach you to create a draggable map prototype without the use of any code!


Introduction
In this day and age, locational features are a common sight across mobile applications. Whether that be for your navigation app or using a points-of-interest style feature, interactive map elements are always present in the picture.
In this tutorial, we will be using a series of simple triggers in ProtoPie to create one of these interactive maps.
What you will learn
In this lesson, you'll learn how to:
- Scale an element/map with a Pinch trigger
- Rotate a map using the Rotate trigger
- Create a draggable map prototype
- Set reasonable constraints on your triggers and responses
By the end of this tutorial, you'll be able to make something like this!
.gif)
Step-by-step instructions
Before Starting
Make sure you have the ProtoPie mobile application to mirror your preview onto your phone as it will make it much easier to test your prototype, especially with the introduction of the pinch and rotate triggers.
It is important to note, that if there are any elements directly on top of your map screen, you will need to tick the "Make Lower Layers Touchable" check box at the bottom of the selected layer.
Map Panning Interaction
1. First of all, we want to make the most common kind of interactive map interaction, the pan. To do this we start by adding a Drag trigger and attaching it to the Map element. Following this, we want to add a Move response to the trigger, also attached to the Map.

Once this is done, you should be able to pan your map using a single finger.
Zoom In And Out Of Your Map
Next, we want to create another common interaction that is present in almost all interactive maps. The Zoom.
1. To start prototyping this feature, we first add a Pinch trigger and attach it to the Map element.
2. Similar to before, we now add a response attached to the Map element, except this time we will be adding a Scale response, as we want to change the scale of the map to change when we pinch the screen.

Once you are done, you should have a zoomable map.
Rotating Map
And for the third interaction, we will be going over how to rotate your map. This one involves the exact same methods as the previous two as well.
1. First, add a Rotate trigger to the Map element, and then beneath that, attach a Rotate response.

With these simple steps, you should be able to rotate the map with a twist of your fingers.
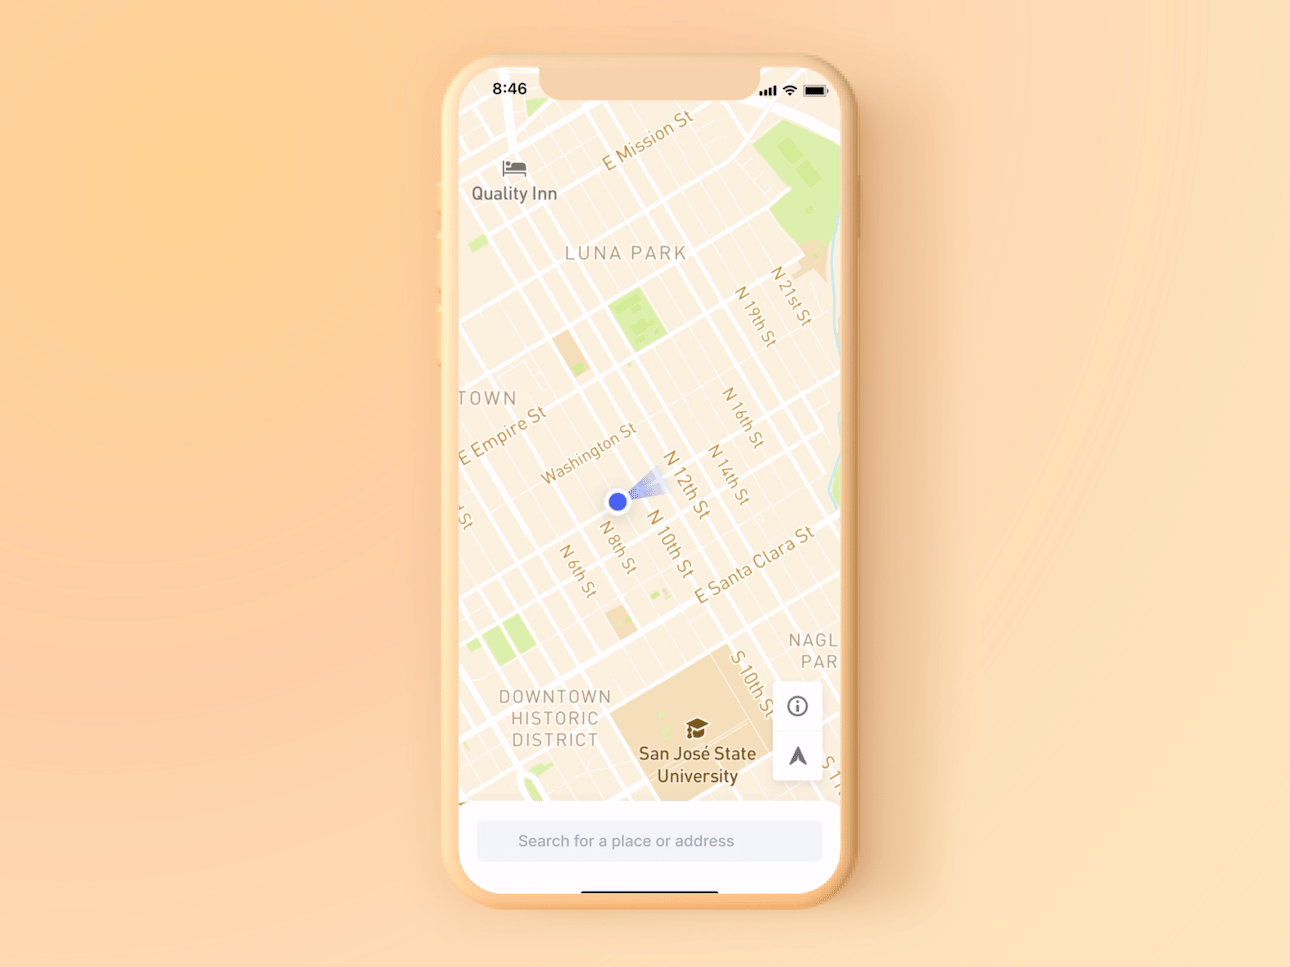
Self-Locational Marker
You'll realize that the marker does not move with the triggers we have just implemented.
1. To fix this, you'll need to create a new container with both the map and your new locational marker inside. For the purpose of this tutorial, we'll name this Map Container.

2. Previously, we attached our triggers and responses to the map layer, however, these triggers will only affect the map. To apply these to the marker:
- Shift and select (click) all the triggers. This will allow you to select multiple triggers simultaneously
- Change the affected layer to Map Container
- You'll have to change the layers of the responses one at a time to Map Container as shift-click does not allow you to select responses under different triggers

Once you've done this, your map as well as the locational marker should all move with your triggers.
However, you'll find that when scaling, both the map and markers will disappear into the top left corner. These are caused by constraints.
Constraints
The map's inability to scale is due to the Fixed Width and Fixed Height constraints on the map. This causes the image to remain at a fixed size within its parent container.
1. To combat this, go into the map layer and navigate to the constraints and deselect the Fixed Width option. This will allow the map to scale with its parent container.

💡 You'll notice that this automatically deselects the Fixed Height and vice versa.
This would be due to the size of the layer being locked. This will cause the aspect ratio of the image to remain the same at all transformations. For the purpose of this map, we want to leave this locked, as we want the map to retain its aspect ratio.
2. We will leave the constraints on the width and height as fixed for the locational marker as we want it to remain the same size regardless of scaling.
3. To allow the marker to move with the map and retain its relative position within the container, simply deselect any edge constraints. Your map should now pan, zoom and rotate properly!

Limits
When playing around on map applications, often you'll find that you can't infinitely zoom in or out.
1. Well, we can set these limits in ProtoPie as well! To set a limit on the zoom:
- Navigate to the Scale response.
- Locate the Limit section
- Set the min and max pixel width and height. For the purpose of this tutorial, we'll set our minimum to 1000x1000px and our max to 5000x5000px.

Now if you try to zoom in and out of your map, you'll find at a certain degree, it will prevent you from zooming any further.
2. Similar limits can also be set with your pan effect in your Move response! An easy one for limiting to a container size is to set the limit to Limit to Screen. Which will prevent you from overflowing past your container boundaries. Alternatively, feel free to play around with the Custom Limits option if you have a specific section of the image you'd like to omit from the panning!

Congratulations!
You're done! You've created an expanding image preview! Try applying this to your own design concepts and see what ideas you can bring to life!


