How to Design a Circular Slider with Conditionals
Learn how to create a circular slider using ProtoPie's conditionals and variables.

.jpg?fm=webp)
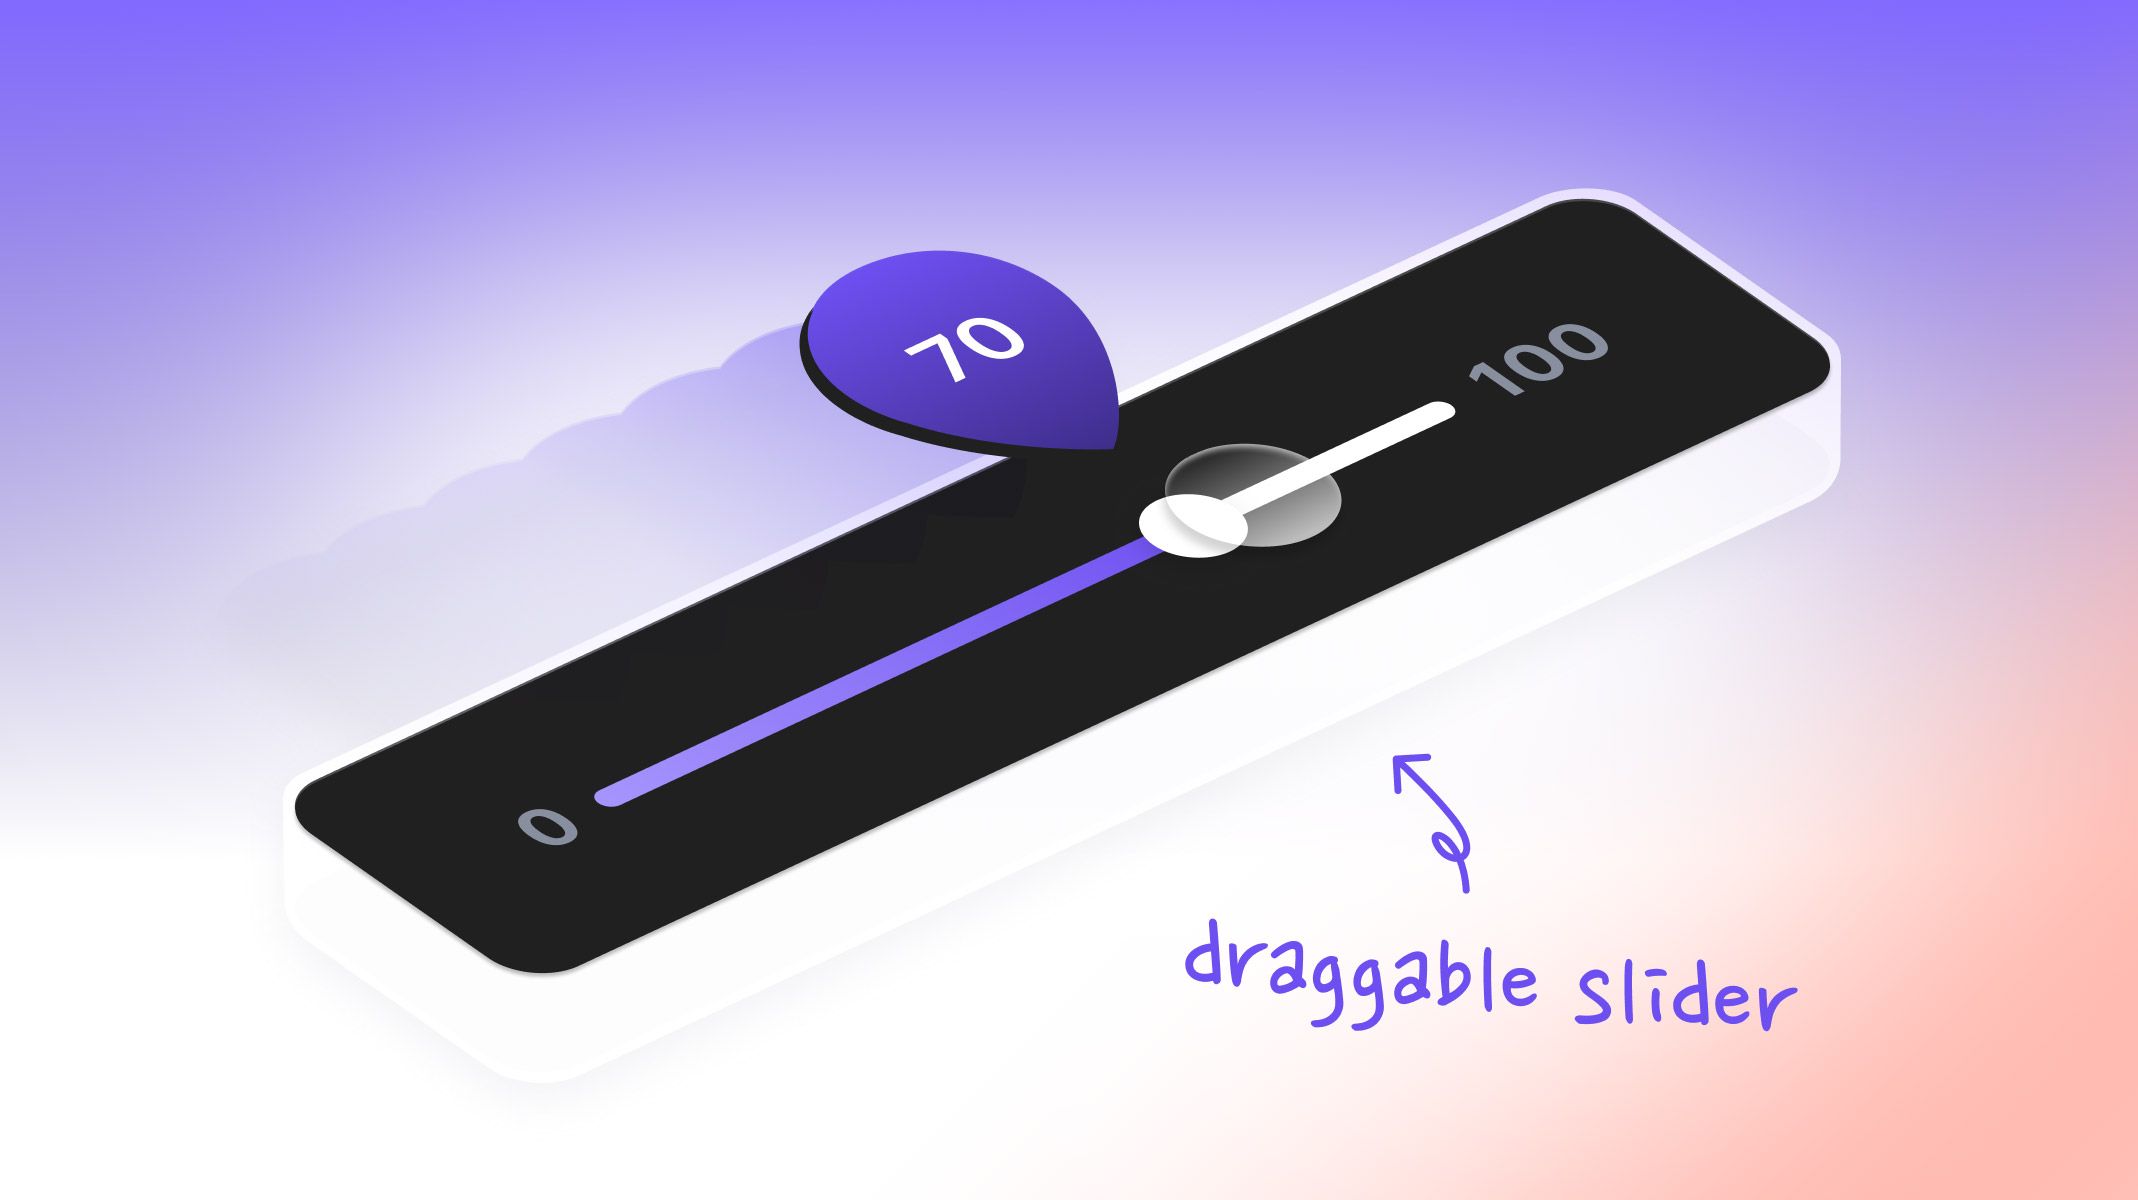
Sliders let users easily adjust a value within a range by moving a control, like a knob. They’re perfect when you don't need an exact number, just a general selection.
In this tutorial, you'll learn how to create a circular slider where users can control a knob that adjusts a percentage display. ProtoPie simplifies this process with its Chain trigger and variable elements. The Chain trigger lets you link the knob’s rotation to the slider’s active area, while variables help calculate the rotation to update the percentage value shown.
Let’s dive in and start building!
Overview
- Step 1. Make the knob draggable
- Step 2. Reveal the active part of the slider using a mask and the Chain trigger
- Step 3. Make the text value correspond to the knob's rotation
In the end, you’ll be able to make something like this👇
Step 1. Make the knob draggable
1. To begin, create a container that matches the size of the radial dial. Then, drag the Knob object into the container and rename it as "Knob Container.”

2. Change the Knob Container's origin to the center.

3. With the Knob object selected, add a Drag trigger. Select the Knob Container and add a Rotate response. You can now rotate the knob perfectly around the radial dial in the Preview window.

💡 Note: There’s another way to make the Knob object draggable in a circular slider, but it’s less efficient than the method we’re using in this lesson.
The alternative involves changing the Knob’s origin to the center of the component and using a Rotate response. However, in ProtoPie, the origin values are set as percentages, which makes it tricky to achieve precise accuracy. It often requires trial and error to get the Knob object to rotate perfectly around the dial, which is why we recommend the method outlined in this tutorial.
Step 2. Reveal the active part of the slider using a mask and the Chain trigger
In the following steps, you will use masks to begin setting up the reveal of the active part of the slider as the knob moves along.
Part 1. Set up the masks
1. To start, create two shape halves that split the circle vertically and place them on the left and right halves. You can look at the sizes of the left and right images to get the correct measurements (128x256). You are creating two halves because the split of the halves bisects the knob, and as the knob rotates, the halves also rotate to reveal the active part.
2. You will place the right-half image within a mask on the left side. Drag the left side, shape half under the right image, and with the shape half selected, select ”Use as Mask.” Remove the fill of the shape layer. Notice that all the layers above your elements are also masked. Instead, you want to select the right image and left mask and put them in their own container.

3. Put the left image into a container with the right shape layer and create a mask.

Part 2. Set up the Chain trigger
In the next steps, you are going to chain the rotation of the masks to the rotation of the knob container to create the active reveal.
1. Select the Left Mask and set the origin to center-left (or directly in the middle of the circular slider). Repeat this for the Right Mask so the origin is also directly in the middle of the circular slider.

2. Add a Chain trigger to the Knob Container's Rotation.

3. For the reveal on rotation, it will start with the right half because it will reveal first as the knob moves along. Select the Left Mask and add a Rotate response to the Chain trigger. Type in the values so all they go from 0 to 180.

4. Select the Right Mask and link a Rotate response to the Chain trigger. The ranges will be from 180 to 360 for rotation and from 0 to 180 for angle.

Let's take a look in the Preview window.
Step 3. Make the text value correspond to the knob's rotation
1. Create a variable and name it value. With this variable selected, add Assign to the Chain. Change the variable to the value variable, which will assign values based on the value of the container. Change the range on the Rotation from 0 to 360 and the Value from 0 to 100.

2. You can click the debugger icon to see if the value changes. Open the Preview window and try dragging—you should be able to see the value changing as you drag. You will notice that the value includes two decimal places. Don't worry; we'll address this in the next step.
.gif)
3. Create a Detect trigger linked to the value variable. Create a Text response linked to the text Value. Change the content to formula. You will use the formula round(value)+"%".This will remove the decimal points and round to the nearest whole number.

💡 round(): Return the rounded value of a number.
round(source:NUMBER)→ NUMBER
Congratulations!
Great job on working through this tutorial! We hope you enjoyed creating circular sliders for your awesome ProtoPie projects. We would love to see your creative experiments. Create your own prototype and share it on X or Instagram with #MadeWithProtoPie.
.jpg?fm=webp)

