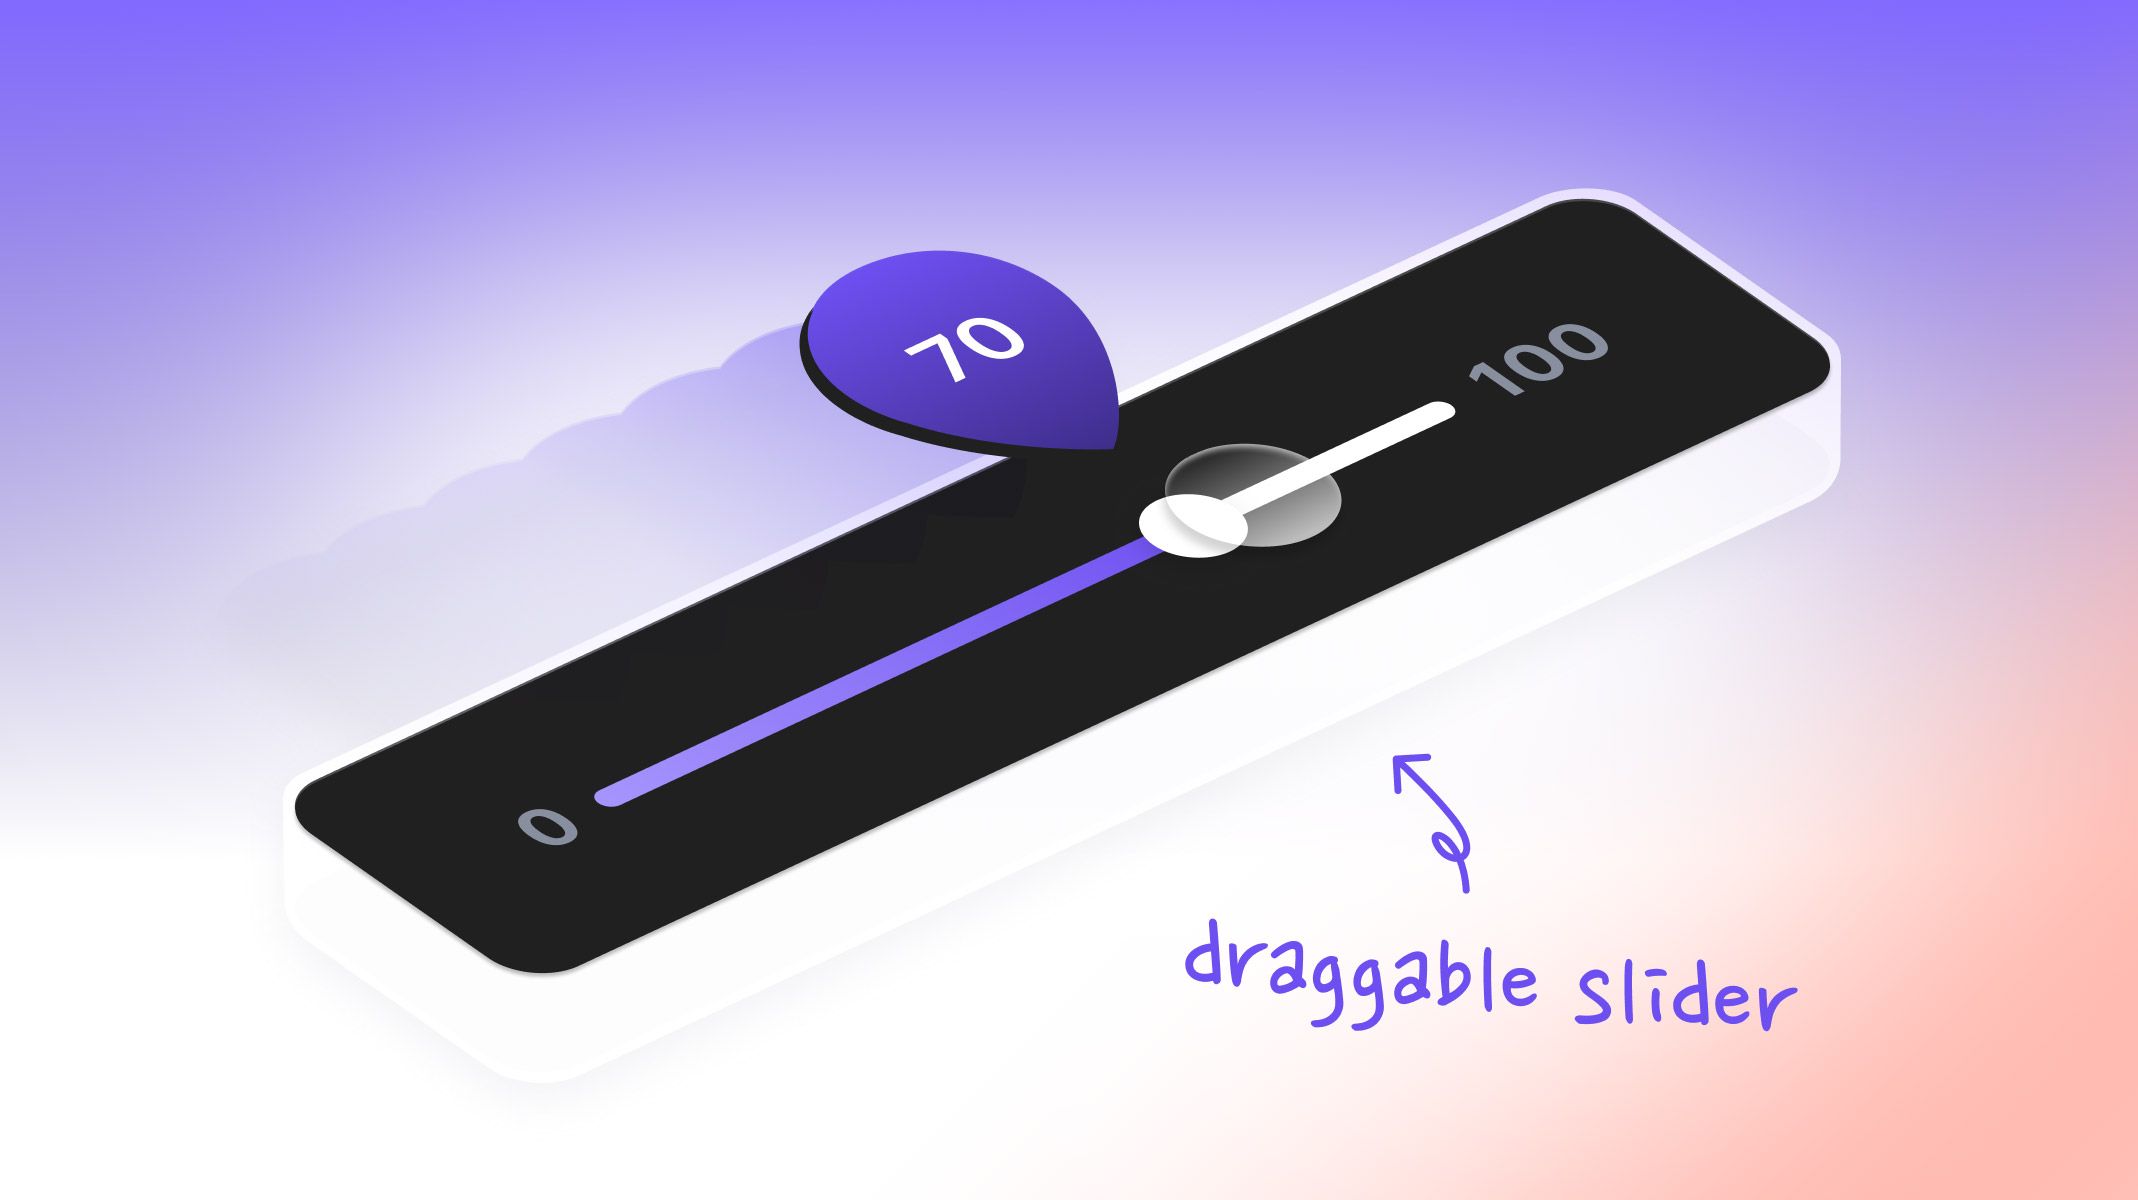
How to Create a Draggable Slider with a Dynamic Number Indicator
Use Variable and Chain to show your slider's dynamically changing value, just like magic!

.jpg?fm=webp)
Surfacing a slider's value dynamically can add a lot of value and delight when designing quite a lot of experiences. Adjusting the volume, the brightness, or even the speed for text to speech are a few such examples. But that's just the tip of the iceberg — think of a slider for purchasing a storage plan, or the number of pizzas to order, or for reacting to a story on social-media-gram! The implementation can make a lot of experiences easier and more intuitive to use.
But that's not the only thing that's easy — ProtoPie's in-built Chain trigger and access to Variables can help you prototype this experience with just as much delight.
Overview
- What you will learn
- Step-by-step instructions to create a draggable slider
- That's it, you prototyped a draggable slider!
In this lesson, you'll learn how to:
- Make the slider's knob draggable
- Show a dynamic trail behind the knob using Chain
- Make the number indicator move with the knob using Chain
- Show the current value of the knob using a Variable
In the end, you'll be able to make something like this!
.gif)
Step-by-step instructions to create a draggable slider
1. Make the slider's knob draggable
1. Select the Knob layer, and set the Origin to center.

💡 Why did we set the Origin to Center?
We want to be able to show the position and add interactions based on the center of the Knob, but the default origin position was set to the top-left corner. Changing it to the center will make it easy for us to find its position when adding interactions as we go forward.
3. Select the Knob layer, and add a Drag trigger. Click on + and add a Move response to it. Set the move direction to horizontal.
4. Change the Limit of the Move response from None to Custom Limit. For the custom limit, set Min X to 0, and Max X to 212.

💡 Why "Custom Limit", and why these numbers?
By choosing Custom Limit, we restrict the movement of Knob to specific points on the screen. Without this, the layer could move across the full width of the screen.
For our case, the movement should be restricted to the Track layer. Since the width of Track is 212, we set that as the maximum value Knob can be dragged to. And the minimum value it can be dragged to is 0. These values work because Knob is inside of the Slider container, and 0 and 212 are relative to it.
5. Select the Knob layer, and from the properties panel, enable Touch Area. Set it to 20 for all sides. We do this to make the layer more touch-friendly since the layer Knob is very small at 20 ✕ 20 by itself. After setting the Touch Area, the touchable area for Knob will become 60 ✕ 60.

2. Show a dynamic trail behind the knob using Chain
1. Select the layer Active, and from the properties panel.
2. Select Knob, and add a Chain trigger. Select Active, and add a Scale response to the same Chain trigger.
3. Select the Scale response, and for Range1, set the width to 0 at X = 0, and 212 at X = 212.
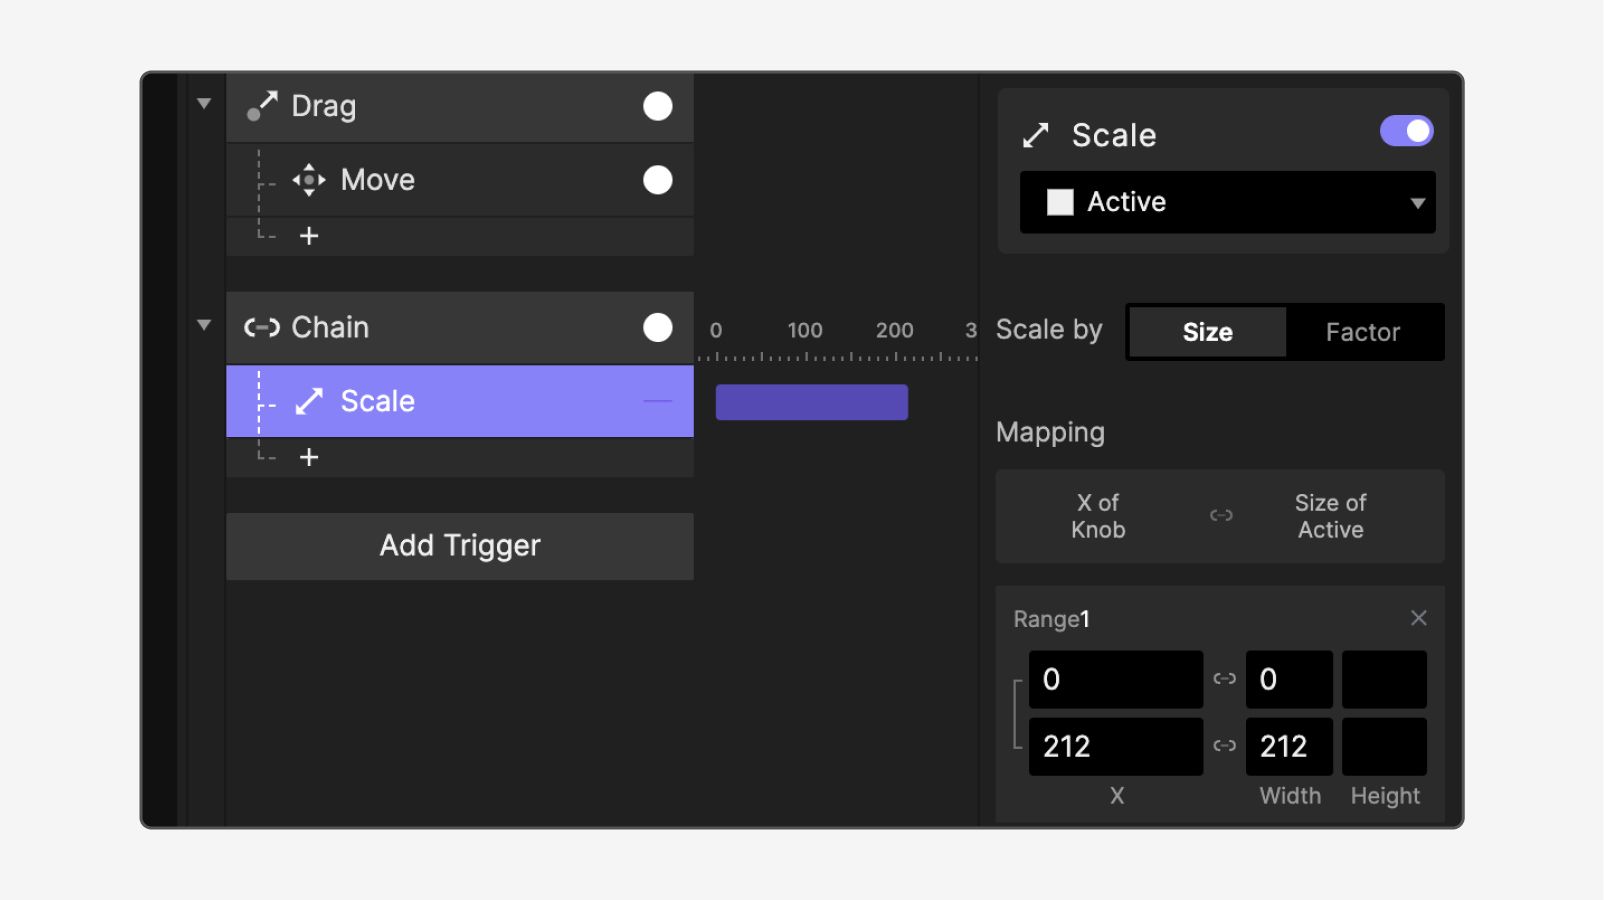.jpg?fm=webp)
💡 Why these values?
Since Knob can move from X = 0 to X = 212, we use the same values for the X position in Range1. As Knob moves from 0 to 212, the width of Active should match its position which goes from width = 0 to width = 212.
Since we had earlier set the Origin of Knob to be the center, the changes in the width of Active perfectly match the position of Knob.
3. Make the number indicator move with the knob using Chain
1. Select the container Number and Slider (press Shift and click them in the layers panel to select both), and press Ctrl+G (Cmd+G on a Mac) to group them into a new container.

💡 Why did I have to put them in a new container?
We do this because every object's coordinates are relative to its container. Putting Number in a container that is as wide as Slider will mean that at X = 0, Number will be on the left edge of the container, and at X = 212, it will be at the right edge of the container. As we go forward into moving Number, it will be super easy for us to use these values.
If we didn't make this new container, we would have had to find the X value for Number manually by dragging Number to the left and right edges of Slider.
2. Select Number and set the Origin to center — for the same reason as we had used the center as the Origin earlier. This will allow us to use the same X values as Knob as we go forward.

3. Under the Chain trigger for Knob, add a Move response. Make sure the Move response is assigned to the container Number. Assign the following values to Range1 under Move.

💡 Why did I have to assign the Move response to "Number"?
In ProtoPie's Trigger and Response model, we must make sure the right layers are selected for each. In this case, Chain is our trigger, and it is applied to Knob. In Response we want to Move the Number container. Hence, we change the assignment of Move to Number.
💡 Why these values?
Since Knob can move from X = 0 to X = 212, we use those values for the X position in Range1. As Knob moves from 0 to 212, Number should match its position, so we also move Number from X = 0 to X = 212.
Since we have also set the Origin of Number as the center, its movement will line up perfectly with the movement of Knob.
4. Show the current value of the knob using a Variable
1. Create a new variable — we can choose For All Scenes for this example. Under the Chain trigger, add an Assign response. Select value as the target of the Assign response. Use the following values:

💡 Why these values?
Since Knob can move from X = 0 to X = 212, we use those values for the X position in Range1. As Knob moves from 0 to 212, we want to show the value of value going from 0 to 100.
This means that when Knob is at X = 0, Value will be 0, and when Knob is at X = 212, Value will be at 212.
2. To test if our value assignment is working correctly, click on the bug icon next to the variable to see its live value. Open the Preview window and try dragging — you should be able to see the value changing as you drag. You will notice that you're seeing a value up to two decimal places. Don't worry, we'll address this in step 6.
.gif)
3. Press Add Trigger and add a Detect trigger. Assign it to value.

4. Select the text layer Value.
5. Under the Detect trigger, click + and add a Text response.
6. For the Text response, change the content from Text to Formula. Use the formula round(value).

💡 Wait, what did we just do?
We just used the round(source:NUMBER) function. It accepts a number value and returns the number in a rounded format. That means if the number being given to the round() function has decimal values, we will receive a rounded whole number as the output.
round(source:NUMBER)→ NUMBER
We used the round() function on Value since we noticed in step 3 that we were seeing a decimal value of two places. Our intention with the design is to show whole numbers only, so we use this formula.
That's it, you prototyped a draggable slider!
Awesome work! You've learned how to create a draggable element and give it a custom limit. You've also learned how to use Chain to control the movement, width, and dynamic number value of different elements! That's quite a lot, but that's not all — you've also learned how to round a numerical value to a whole number and assign it to a text layer dynamically!
Continue experimenting with these methods in ProtoPie, and create even more realistic experiences. We would love to see your crazy experiments! Create your own prototype and share it on LinkedIn, X, or Instagram with #MadeWithProtoPie.
.jpg?fm=webp)
.jpg?fm=webp)
.jpg?fm=webp)