ProtoPie 4.3: More Flexibility With Nested Components
Interactive prototyping with more flexibility by using components inside other components.


Time for another ProtoPie update! After introducing components in ProtoPie 4.0 a few months ago, one of the major feature requests we collected ever since was nested components. Of course, it makes a lot of sense for us to continue building on top of components by introducing nested components. So here we are!
Fun fact: we released ProtoPie 5.0 with interaction libraries.
Besides nested components, ProtoPie 4.3 is packed with other great features. Autocomplete Send/Receive messages and the option to pin the scene and component panels will make it a breeze to work with components and switch between scenes and components. The support for the system status bar and background blur for iOS both will make your prototypes even more realistic.
Get started with ProtoPie 4.3 today and you will see these changes that will hopefully make you very happy. Let’s highlight some of the most important ones below.
Introducing nested components

First, what are components? Components are saved sets of layers and interactions that are reusable across your prototype. You can turn any set of layers and interactions into a component. By using components, you avoid unnecessary repetitive work, improve the readability per scene, and ultimately accelerate your prototyping workflow.
Now, ProtoPie enables you to use components inside of another component, giving you more flexibility when creating prototypes with tons of components.

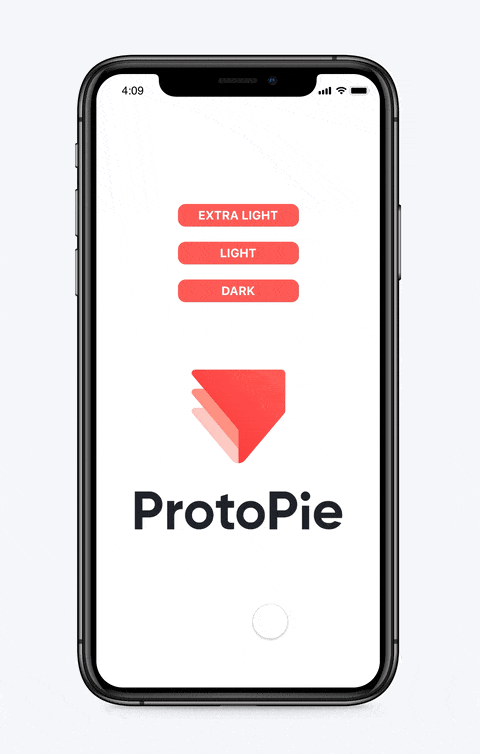
Example prototype using nested components.
You can override nested components at any level of the component hierarchy. The parent component can override the child component, and so on. This is what you’re most probably used to from components in the design tools you already use.
If you are familiar with using components in ProtoPie, then you must be familiar with the Send response and Receive triggers as well. As components are isolated from scenes, the Send response and Receive triggers were initially used to create interactions between a component and objects outside of a component.
We made some changes following the introduction of nested components. You can choose between these channels under Inside Pie now:
- Parent — Parent component or scene if there’s no parent component.
- Child Component — Any child components in the current component you are in.
- Current Scene — The scene where the component is used.
- Current Component — Solely the current component, not any child components if there are any.

Read more about how to use components in our documentation.
If you have any questions about this, do get in touch with us and let us know how we can help!
Background Blur for iOS
To achieve the famous blur effects on iOS and iPadOS, we added a new layer called iOS Background Blur and a response called Background Blur.
On iOS 13 and iPadOS 13, you will be able to use all 13 blur effects based on Apple’s Human Interface Guidelines. On iOS 12, iPadOS 12, and lower, you can only use the 3 default blur effects.
See example.
System status bar
To make your prototypes feel even more realistic on smart devices, we added the ability to utilize the system status bar on both iOS and Android. You can even adjust the colors of the content and background of the system status bar per scene.
You don’t need to longer fake this with a static status bar that you would import first from Sketch, Figma or Adobe XD.
Option to pin the scene and component panels
After introducing nested components, you will most probably use components even more. This would lead to more switching between scenes and components. Now you can pin both the scene and component panels for you to always see an overview of scenes and components at a glance and making switching between scenes and components a lot quicker.

Other features and improvements
- Autocomplete Send/Receive messages
- Snap to pixel
- Formula support in the Color response
- New device frames, e.g. iPhone 11 Pro & Google Pixel 4
- Navigation buttons in the component and corresponding scenes
- Duplicate interactions
By the way, have you read our article on how to maximize your prototyping while working remotely?


