How to Format Currency in Money Transfer App in ProtoPie
Learn how to use the “format()” function to display a number as dollars and cents, pounds and pence, euros, etc.


Quick Summary
One common interaction you’ll see in a money transfer app design is a screen where the user types in some numeric digits — for example, the amount of money they wish to send to a friend — and the screen reflects that amount back formatted to appear as currency — e.g., $45.33.
In this lesson, you’ll learn how to use one of ProtoPie’s built-in functions in order to present numeric input in a common currency format.
What You’ll Learn
In this lesson you’ll learn:
- How to use ProtoPie’s built-in
format()function - How to combine pieces of text together in a formula
- How to automatically show your device’s native keyboard
- How to show the numeric keyboard instead of the regular alphabetic one.
Before You Begin
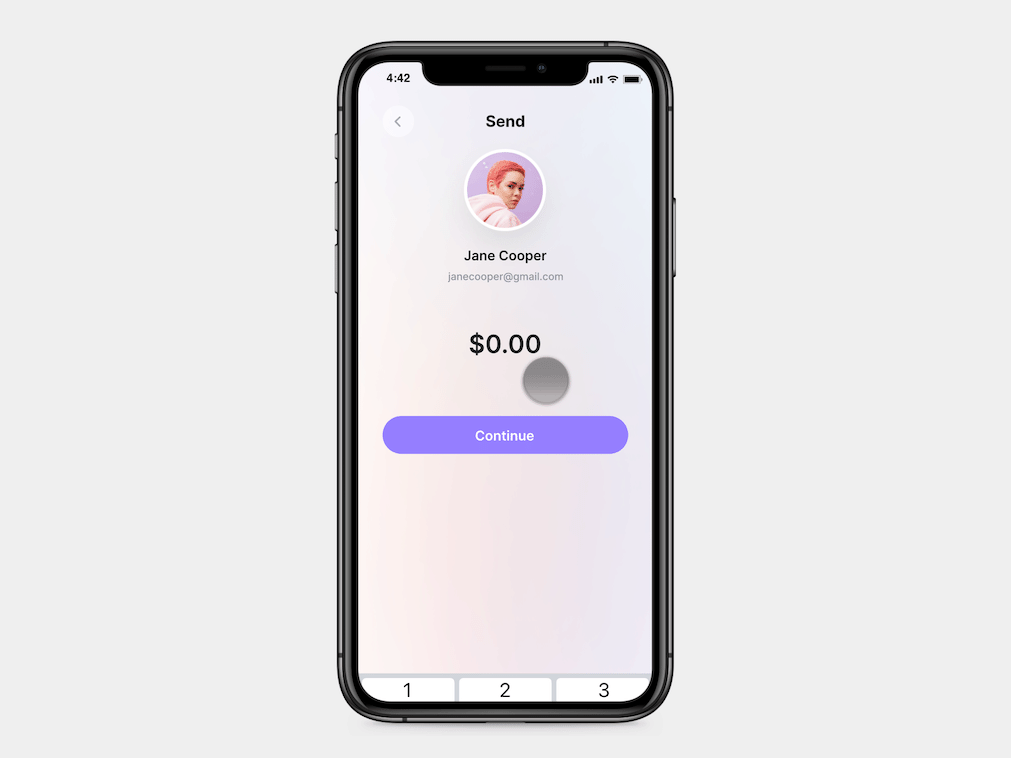
Open the starting Pie, which contains one screen of a mock payment app. We’ll be working with the screen where the user inputs the amount of money they wish to send to a contact. We only want the user to input numbers. If the user types 5, for example, our experience should interpret this to mean 5 cents and display it as $0.05. if the user types 50, we’ll display $0.50. If the user enters 505, we’ll display $5.05, and so forth. Lastly, we’d like the display to update in real-time as the user types.
Step-by-Step
Part 1: Set up the input
We need a way to capture the user’s input.
- Add an Input layer to your canvas. For now, just position it between the “Transfer amount” layer and the “Continue” button.
- Leave the layer with its default name
Input 1. - We’ll make it hidden later, so don’t worry about size, fonts, colors etc.
- Leave the layer with its default name

If you preview it right now, you’ll see that if you tap on the input field, you’ll get the normal alphabetic keyboard.

Let’s change this to display the numeric keypad.
- With the input field selected on the canvas, scroll to the bottom of the right-hand properties panel to the “Keyboard Options” section.
- In the “Type” dropdown you can select what keyboard appears when the field is focused. Choose “Number.”

Now if you preview this you’ll see the numeric keypad appear when you tap the input field.

We’d like the keypad to appear automatically when the scene starts.
- Add a Start trigger.
- The keypad appears when the Input layer is focused. Add a Focus Response under the Start Trigger to the
Input 1layer, and ensure “Focus In” is selected.

Preview again. The Input 1 layer should be focused when the scene starts, triggering the keypad to appear. However, If you tap outside the Input layer, it will lose focus and the keypad will disappear. We’d like the keypad to remain on-screen at all times, so let’s make some further configurations to ensure the Input layer does not accidentally lose focus.
Once again, scroll to the bottom of the Input’s properties to “Focus Out Options”
- Uncheck “Tap Return Key”
- Uncheck “Tap outside of Input Layer”

Preview once more. Now you’ll see that no matter where you tap, the Input layer remains focused, and the keypad remains on screen at all times.
Part 2: Formatting the input for display
We’d like the display to update in real-time as the user types in their input.
- Add a Detect Trigger to the Input layer, and set it to detect changes in
Input 1's Text property.

💡 Refresher: The Detect Trigger fires every time the selected object’s property or the selected variable’s value changes.
Now let’s display the input!
- Add a Text Response under the Detect Trigger.
- Choose the
Transfer amountlayer. - Under Content, choose “Formula”
- Choose the

Before we continue, let’s now take a look at ProtoPie’s format() function, which allows you to present numeric information in a specific way. It allows you to add a thousands separator, for example, and show the number to a specific number of decimal places. It accepts two parameters:
- value - the raw number you wish to format — in our case the user’s typed input
- format - a pattern representing how you wish to format the number.
It looks like this:
format(value:NUMBER,format:TEXT)
The format parameter is made up of up to four key characters:
#to represent whole-number portions of the format0to represent decimal portions of the format- a decimal character (e.g.,
.in North America) - a separator character (e.g.,
,as a thousands separator)
Let’s look at some examples:
format(1234.567, "#")will output1235. No decimal places have been specified in the format, therefore we get only a whole number. Notice how the output is rounded up.format(1234.567, "#,###")will output1,235. This specifies a separator character, and the three successive#characters mean the separator will be used as a thousands separator.format(1234.567, "#,##")will output12,35. It is similar to the above except that the separator is followed by 2 successive#characters, and therefore acts as a hundreds separator.format(1234.567, "#,###.00")will output1,234.57. This ads.as the decimal place character as well as two decimal places. Notice how the output is rounded to the nearest hundredth.format(1234.567, "#.###,00")outputs1.234,57. This is the same as the above format, however, the.is used as the separator character, and the,is used as the decimal place character. This is a common way to format numbers in Europe and other parts of the world.
💡 The last example shows how the format() function can be used to localize your experience for a particular audience.
In our experience, we’ll be using the North American dollars-and-cents format, which looks like this:
$1,234.57
The fourth example from above gives us the number portion of this format. We’ll need to tack on the $ character separately in our formula. Let’s see it in action!
- In the Text Response we just created, use the following formula:
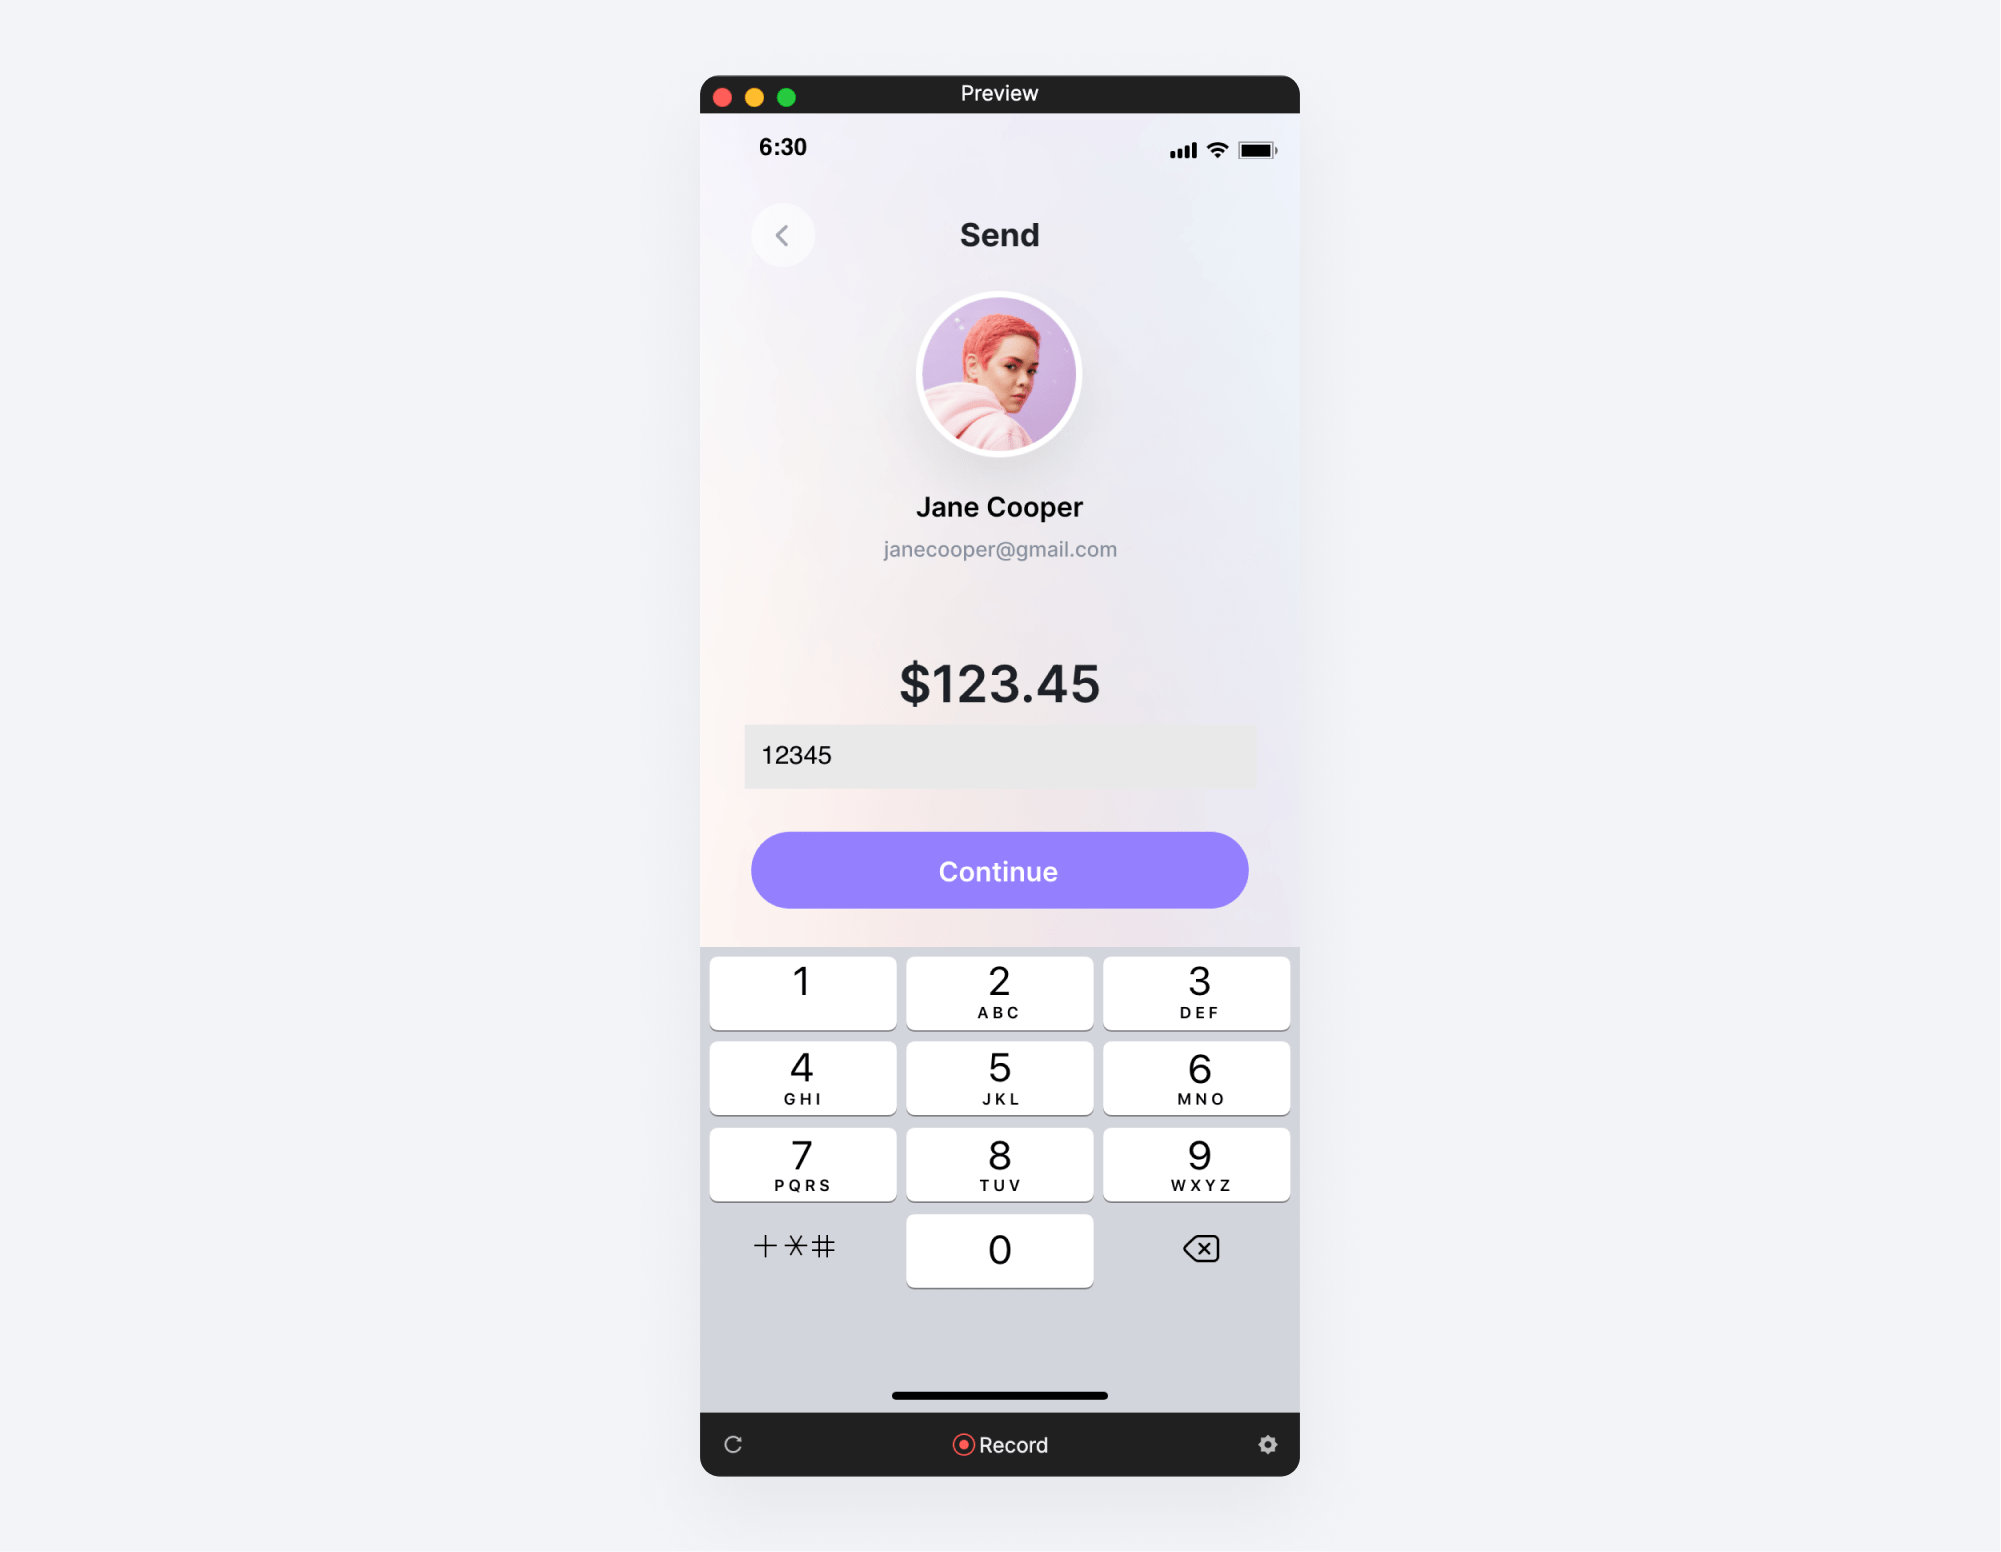
"$" + format(Input 1.text, "#,###.00")

💡 What’s going on:
Any time you’re working with unknown — or dynamic — information, you need to use a formula in order to “fill in the blanks” with your dynamic information. In our case, we don’t know what the user will type. So instead of using an explicit number as we saw in the examples, we’re passing in the text property of the Input 1 layer as the first parameter in our format function. ProtoPie will replace that with whatever has been typed when this formula is executed.
Also, note that we’re adding the $ character to the beginning of the output. We’re joining two pieces of text — the dollar sign and the formatted number — with the + character. If you wanted a different currency symbol, e.g., € or £, replace $ in your formula with whichever you need.
Let’s preview this! We’ve almost got the experience that we want, but notice how no matter what you type, you’re only getting a full dollar amount, no cents to the right of the decimal place.

This is because the input we’re passing in is always a whole number. We want ProtoPie to interpret the above input as 123.45, not as 12345. We need to use some basic math to divide the input by 100 before format processes it.
Modify your formula as follows:
"$" + format(Input 1.text / 100, "#,###.00")

💡 Since there is no ÷ key on a standard keyboard, programmers long ago agreed that the / character can be used for division in calculations. Similarly * is used for multiplication.
Let’s preview this again. Our formatting should be fully working now!
.png?fm=webp)
Now for the last bit of cleanup: let’s hide the Input field. There are a couple of ways you could do this. You could set the layer’s opacity to 0 — which will work just fine — but in situations like this, I prefer to instead keep the layer visible but positioned off-screen. This serves as a reminder to me or anyone else who may need to work on this Pie in the future that the experience involves a hidden input layer.


Number Formatting... Easy as Pie!
In this lesson, you learned how to use ProtoPie’s versatile format() function to correctly display numeric input as a currency amount. You’ve also learned how to work with your device’s native keyboard in order to capture the user’s typed input in a hidden field.
Want more?
- Documentation: ProtoPie’s built-in Functions
- Tips & Tricks: Create a Typewriter Effect Using Variables and Formulas
- Tips & Tricks: Create a Stopwatch Timer using Formulas and Variables