Creating a Skeleton UI Loading Animation
You'll learn how to animate a loading skeleton UI using jump and opacity responses.

Introduction
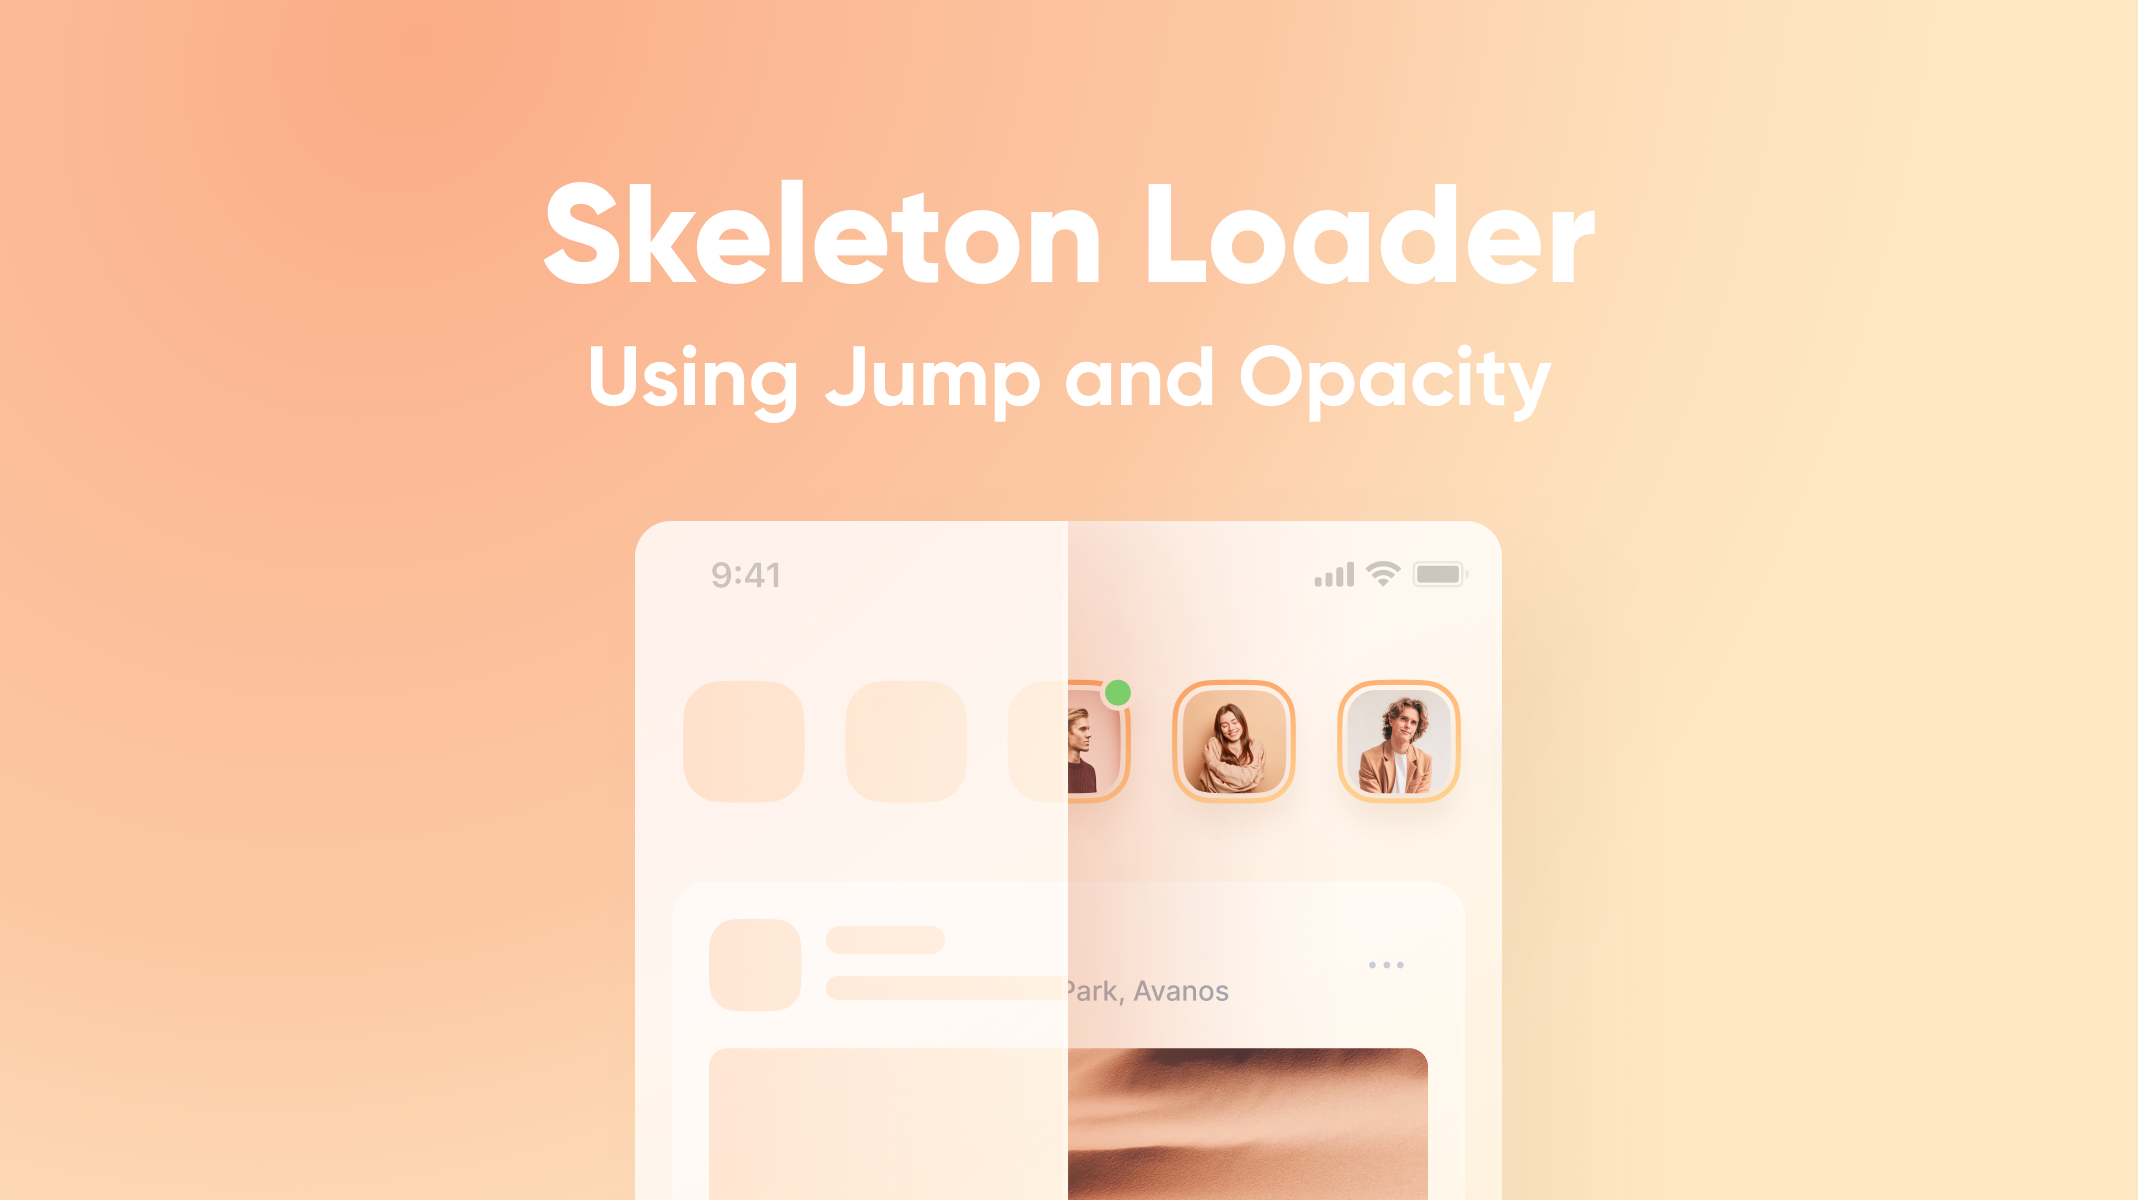
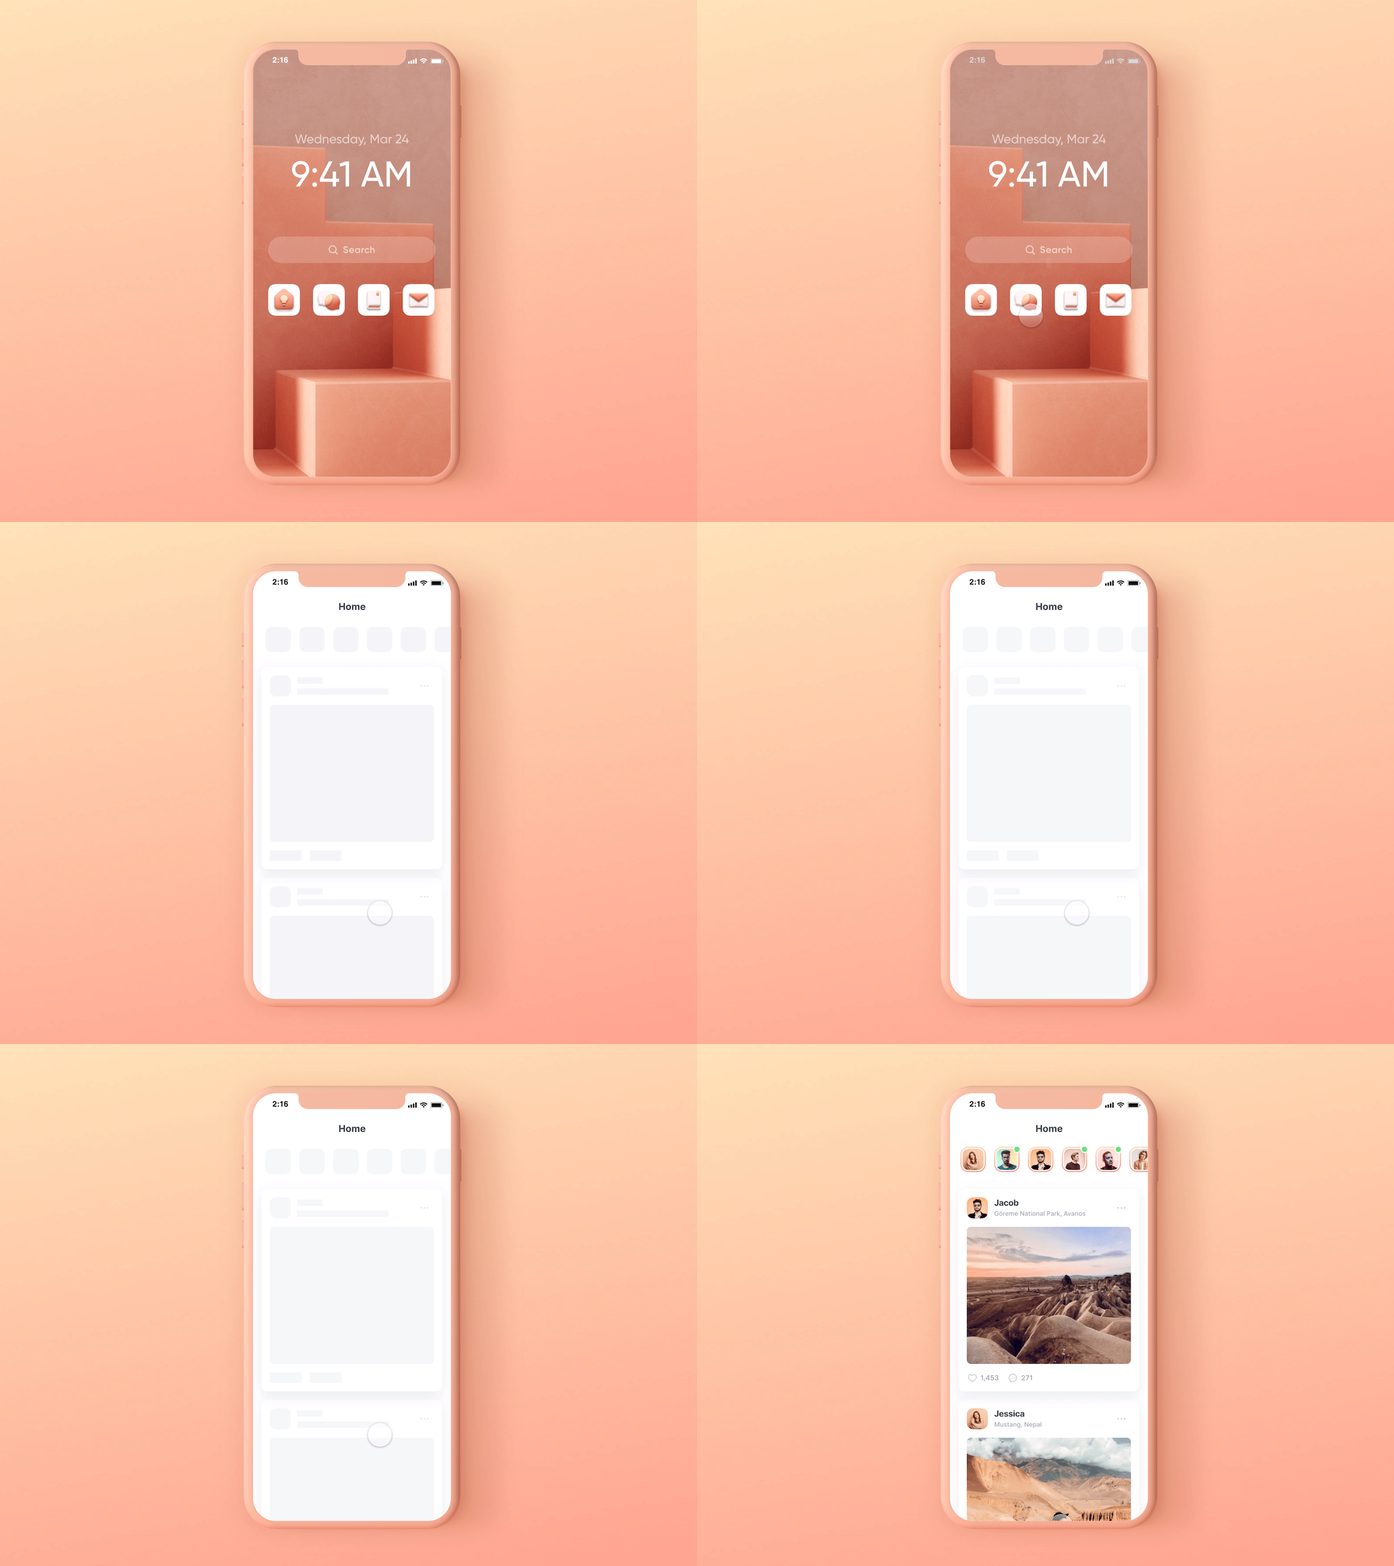
A skeleton UI loading animation represents the actual UI and gives the users an idea of how long it will take to load the content on their screen. A skeleton UI has neutral/grey-toned placeholders for the loading information. This effect can be easily achieved using ProtoPie through a bunch of jump and opacity responses. By the end of this tutorial, you'll learn how to make a realistic-looking skeleton UI.
What you will learn
In this lesson, you'll learn how to:
- Switch between the loading and loaded scenes using Tap triggers and Jump responses
- Get a shimmer effect on the skeleton loader using opacity responses
In the end, you’ll be able to make something like this!
Step by step instructions
1. Jump to the skeleton loader scene
1. In the home scene (scene 1), add a tap trigger on the "Social App" layer.
2. Add a Jump response under the Tap trigger. Set Jump to skeleton loader scene (scene 2). Set the transition as Pop to get an app launching effect (you can add any transition according to your prototype).

💡 Why use Jump response?
ProtoPie works with scenes. When we want to transit from one scene to another scene, use Jump response.
2. Jump to the loaded content scene
1. In the skeleton loader scene (scene 2), add a Start trigger
2. Add a Jump response under the Start trigger. Set Jump to the loaded content scene (scene 3). Set the transition as Fade to get a fading effect on the information. Also, add a delay of 3 seconds as we want the information to load after a few seconds.

💡 Why add a delay of 3 seconds?
In order to simulate the loading effect.
3. Getting a shimmer effect on the skeleton loader
1. Go to the skeleton loader scene (scene 2)
2. Add an Opacity response under the Start trigger on the Skeleton 1 layer and set the opacity to 100. After that do the following:
a. Set duration as 0.5.
b. Check Repeat
c. Set Interval as 0.5
d. Check Infinite Repeat.

3. Duplicate the Opacity response twice. And set the two new Opacity responses on the Skeleton 2 and the Skeleton 3 layer.

4. Duplicate the three existing Opacity responses. Set the Start Delay of the three new responses to 0.5. Set the Opacity to 50.

💡 What are the Opacity responses doing?
The shimmer effect actually is the repeating change of opacity value between 100 and 50. The opacity responses are repeatedly setting the opacity value of layers to 100 and back to 50. This helps us achieve the information loading effect on the screen.
And you are done!
Thanks for following through. You can now achieve a skeleton loading UI effect through these simple tricks. Go try it out for yourself!
