Create a Scrolling Vertical List With 3D Rotate
Learn how to quickly create an outstanding 3D scroll experience using ProtoPie’s Chain trigger and 3D Rotate response.


Quick Summary
Scroll views are everywhere in today’s digital products. ProtoPie allows you to quickly prototype seamless scroll experiences thanks to the Scroll Container. This time, I wanted to do something different and add depth to my scroll view for a 3D like result. It might look complicated but it’s actually easy to achieve this effect ProtoPie, you’ll just need 3 things: a Scroll Container, a Chain trigger and some 3D responses. Let me show you how it works!
What you will learn
In this step-by-step tutorial you’ll learn:
- How to create a vertically scrollable view using a Scroll Container.
- How to add depth to the scroll experience based on the scroll value with the Chain trigger and 3D Rotate response.
Time to complete: ≤10 minutes
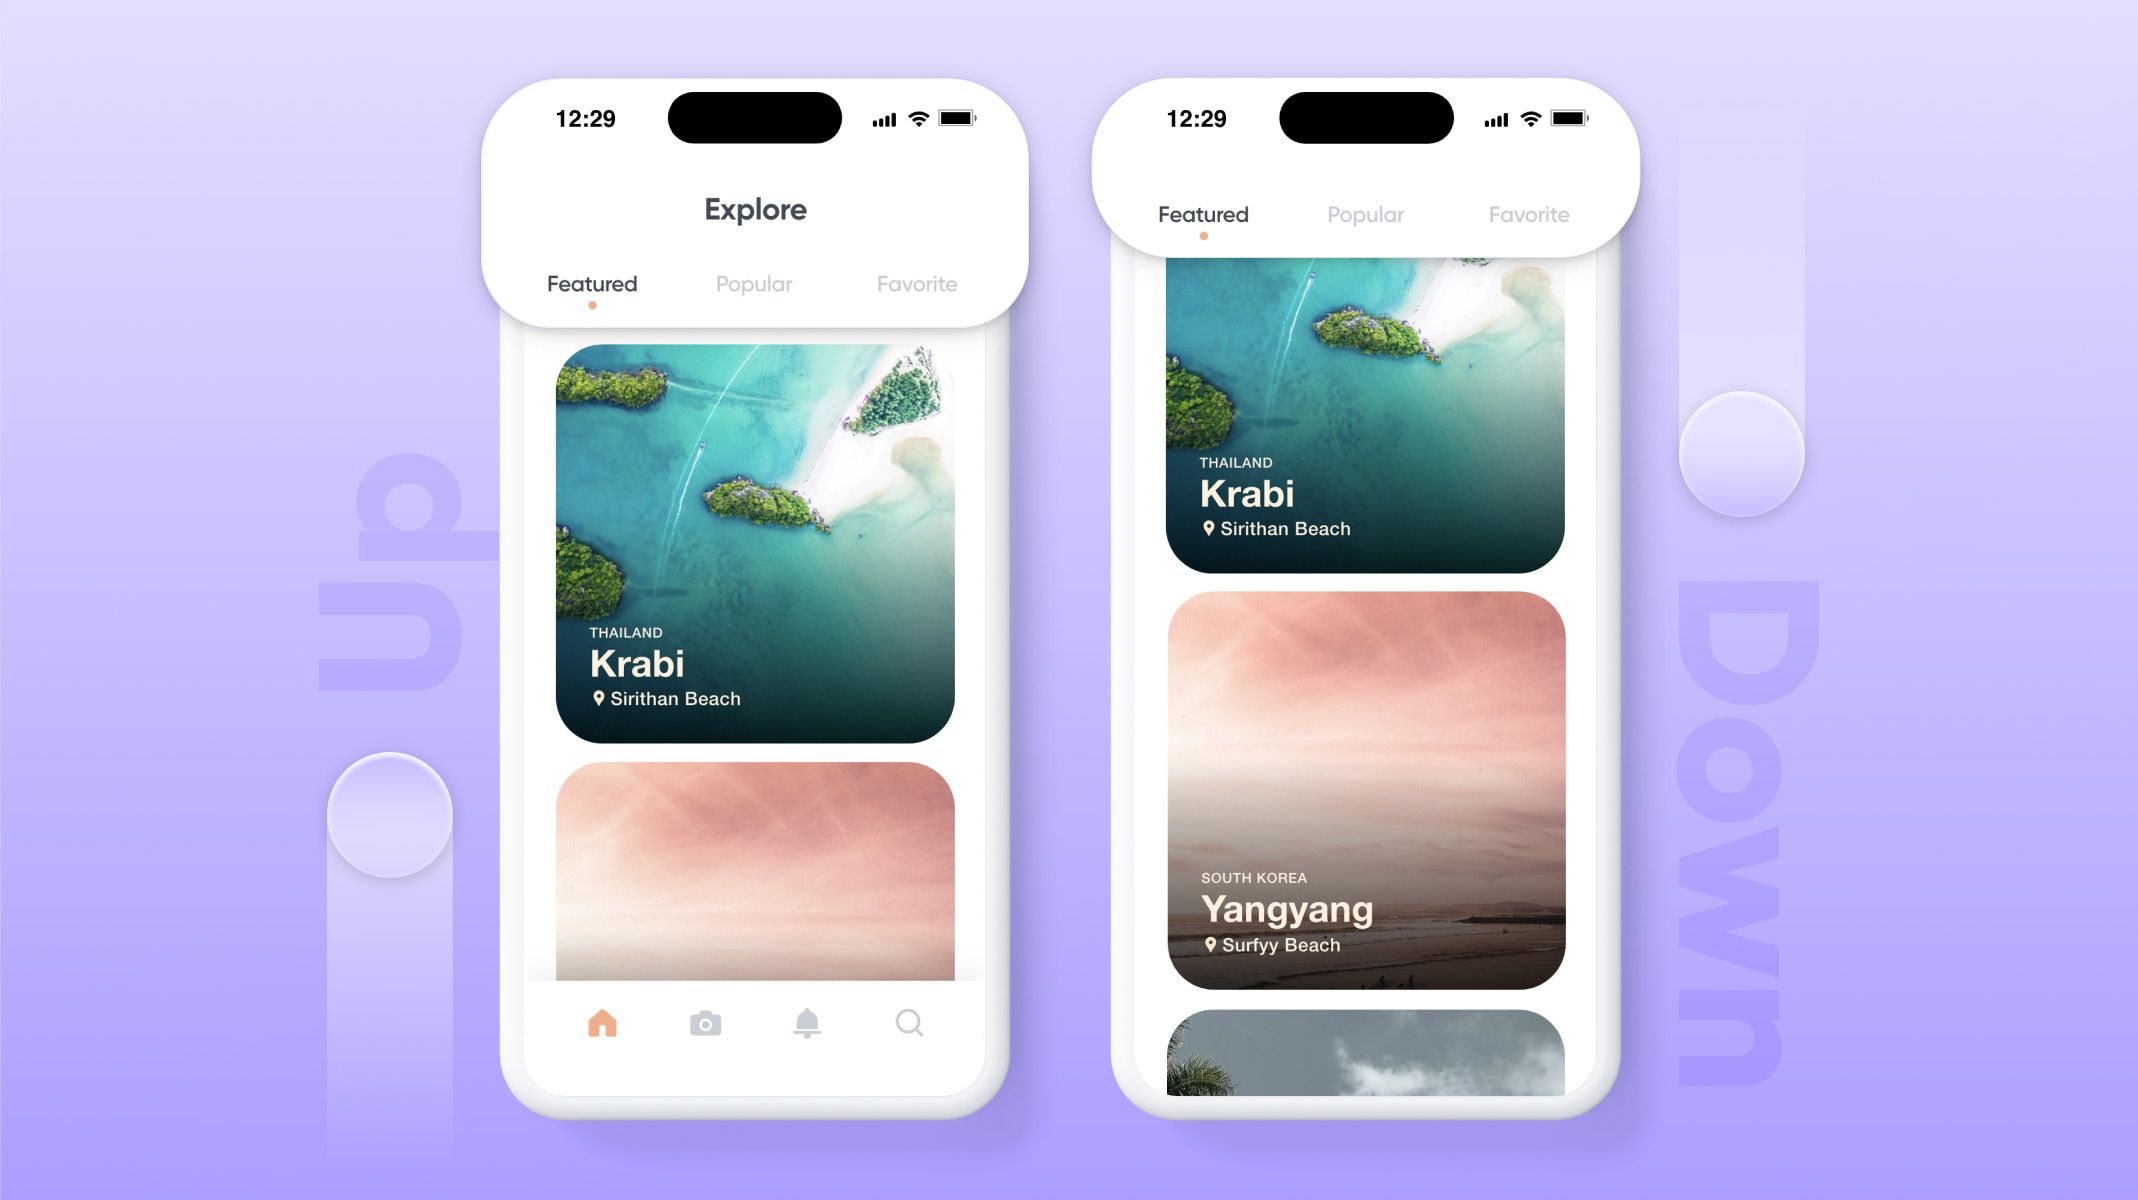
In the end, you’ll be able to make something like this!
Step-by-step instructions
Part 1. Create a vertically scrollable view using a Scroll Container
Let’s start by creating a scroll view in our scene.
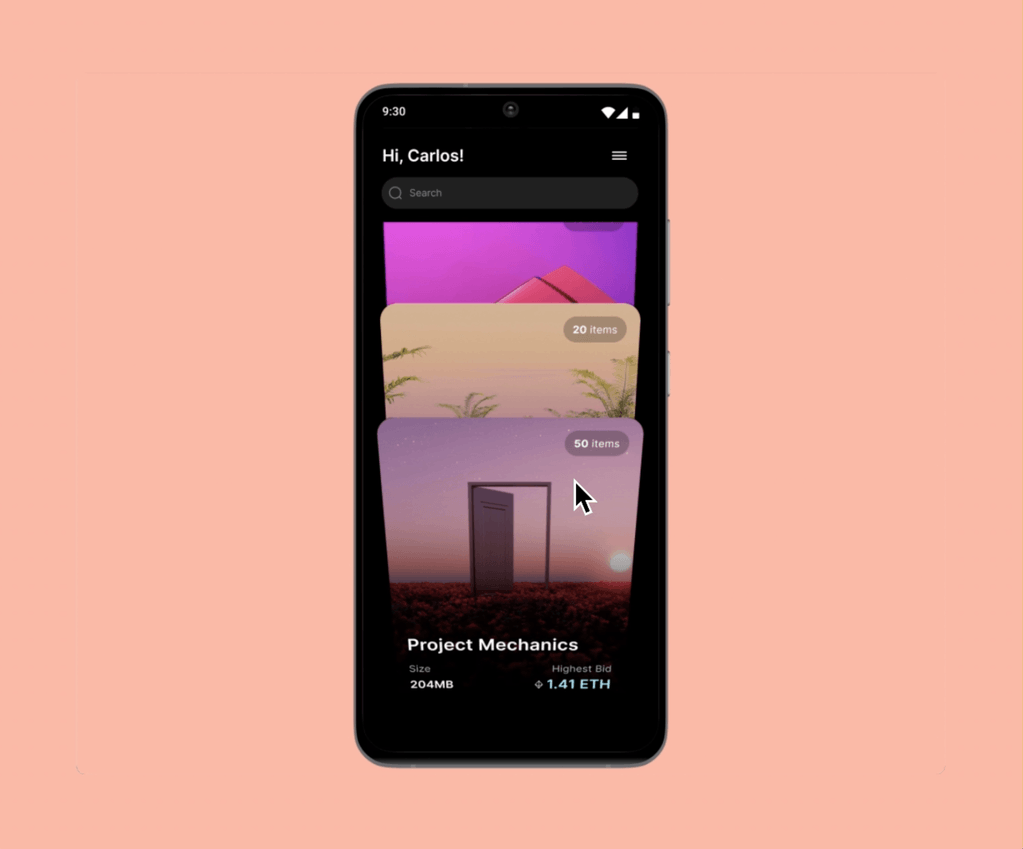
- Design a list of cards in your design tool and import it into ProtoPie. This is the list we’ll later scroll through. Make sure the Origin is set to center in each card layer’s property panel.
- Add a Scroll Container and adjust its size so that it covers the entire scene. To keep your layer panel well structured, rename the Scroll Container (it’s Scroll list in my Pie file).
- Select all card layers and drag them into the Scroll Container you created in step 2. Make sure the container is set to scroll vertically in its property panel, which you’ll find on the right side of ProtoPie Studio’s interface. The Scroll value should be 0.

What is a Scroll value? in ProtoPie, a Scroll Container’s Scroll value determines the x (horizontal scroll) or y (vertical scroll) position the Scroll Container should start scrolling from.
Part 2. Create a 3D scroll effect with Chain and 3D Rotate
Let’s now add some depth and a 3D touch to our Scroll Container for a more unique scroll experience!
- Use a Chain trigger assigned to the Scroll Container and select the Scroll property.

2. Add a 3D Rotate response assigned to the first card layer in your Scroll
Container list. Set up the range in the 3D Rotate’s property panel as follows:
- When scrolling from 0 to a 812 y position, the first card layer should 3D rotate starting from an angle of -200 until back to 0.
- The rotation direction is set as “upward”.

3. Likewise, create a 3D Rotate response for each single card layer in the Scroll
Container, making sure you adjust the range Scroll and Angle values
accordingly. Test your scroll effect using the preview window to make sure
you set it up correctly.
Congratulations!
You've learned how to create a scrolling vertical list with 3D rotate.
.jpg?fm=webp)
.jpg?fm=webp)
