An Introduction to Digital Prototyping
All ideas go through prototyping to become successful end-products. Learn all about prototyping and why it's crucial.


Have you ever considered how some of the most innovative, revolutionary products were made? Whether it’s the telephone, the helicopter, or the computer, they all started out exactly the same: as an idea in someone’s mind.
But ideas alone matter for little. Turning your idea into a fully-fledged product can be a complex process marked by plenty of trial and error. However, there’s one key step that all ideas must go through if they are to become successful end-products: prototyping.
This post will explain why prototyping is such a crucial concept. Specifically, it will examine the following questions:
- What is prototyping?
- What is a prototype?
- Why is prototyping useful?
- Who should prototype?
- How do you get started with prototyping?
What is prototyping?
Ideas are imperfect concepts. You don’t know that your idea definitely works, or if it will work as you think it will. That’s where prototyping comes in. In short, prototyping is the process of bringing your ideas to life, testing them out in the real world, receiving critical feedback, and then iterating your design to make it even better.
Prototyping helps creators flesh out abstract concepts into physical products. It helps teams collaborate effectively and identify areas for improvement. Most importantly, it puts a test-and-learn methodology at the core of all product development—making the process drastically more effective than it would otherwise be.
What is a prototype?
Prototypes are essentially early models of products. That’s it. They’re not intended to be the final version that will eventually be sold to the public—instead, they’re preliminary versions that allow design and product teams to flesh out their ideas, see how they look, act, and feel in real life, and go back to the drawing board if necessary.
Imagine you’re building a brand new model of a car. You wouldn’t simply build the new model from scratch without testing it before putting it on the market. Instead, you’d build out the concept, put the first model through a rigorous series of tests, identify things that need to be changed, and then go back to the drawing board once more.
In fact, when building a car, you’d need to conduct hundreds of mini-tests (using prototypes to help you do this). You might build a prototype of your new steering wheel before testing it out. Or perhaps you’re creating a revolutionary AI-powered dashboard voice assistant. In this case, you’d probably have to create multiple iterations of this product before it performs to the standard that you expect.
Prototyping ensures that no stone is left unturned before a product hits the market. Imagine if you found that your steering wheel completely locks up when somebody turns it too quickly. Not only is this not supposed to happen, but it could be incredibly dangerous for people driving the car.
By producing a prototype, testing it out in the field, and seeing this problem occur, you can then make the necessary adjustments before producing another prototype
Why is prototyping useful?
The primary goal of prototyping is to test designs, concepts, and ideas before creating a product or implementing final changes. The testing process allows you to gather critical feedback from customers and identify areas that need to be improved/redesigned going forward.
This means that your product will ultimately be better than if you hadn’t tested it out first, while also ensuring you don’t commit time, energy, or money into designing a product that is going to be subpar. Prototyping is also great for enabling collaboration—teams come together to build the prototype, test it out, gather insights, and analyze the feedback.
Still unconvinced? Here are some of the most compelling reasons to prototype:
It’s universal
- Communicating your design intentions or apprehensions can be tricky. However, prototyping is a universal language that brings everyone working on a project together—and clearly communicates the results of any tests.
- It provides a tangible, physical way of representing and communicating your ideas.
It powers the test-and-learn approach
- Prototyping validates assumptions and tests hypotheses, providing valuable contextual feedback along the way.
- You can gain a true insight into your product’s usability.
- Prototyping helps you gather key user research and reveals areas where you need to further optimize your product.
It helps you save resources
- Test possibilities and detect usability problems or UX architecture issues early on, without compromising on a single solution.
- Ensure that you validate all assumptions before you go ahead and fully develop your product. Don’t waste time and money developing something that will have to be redesigned later on.
- It provides developers with a reference tool, drastically shortening development timelines.
It’s inspiring
- Teams can see their ideas slowly but surely come to life as they iteratively build out their dream product.
- It provides a sense of ownership to all concerned stakeholders.
- Prototypes are tangible examples of your progress that you can show to investors or other interested parties.
What are the different types of prototypes and when should you use each?
Prototypes can take many forms. In fact, just about the only thing they have in common is that they’re all tangible representations of your ideas.
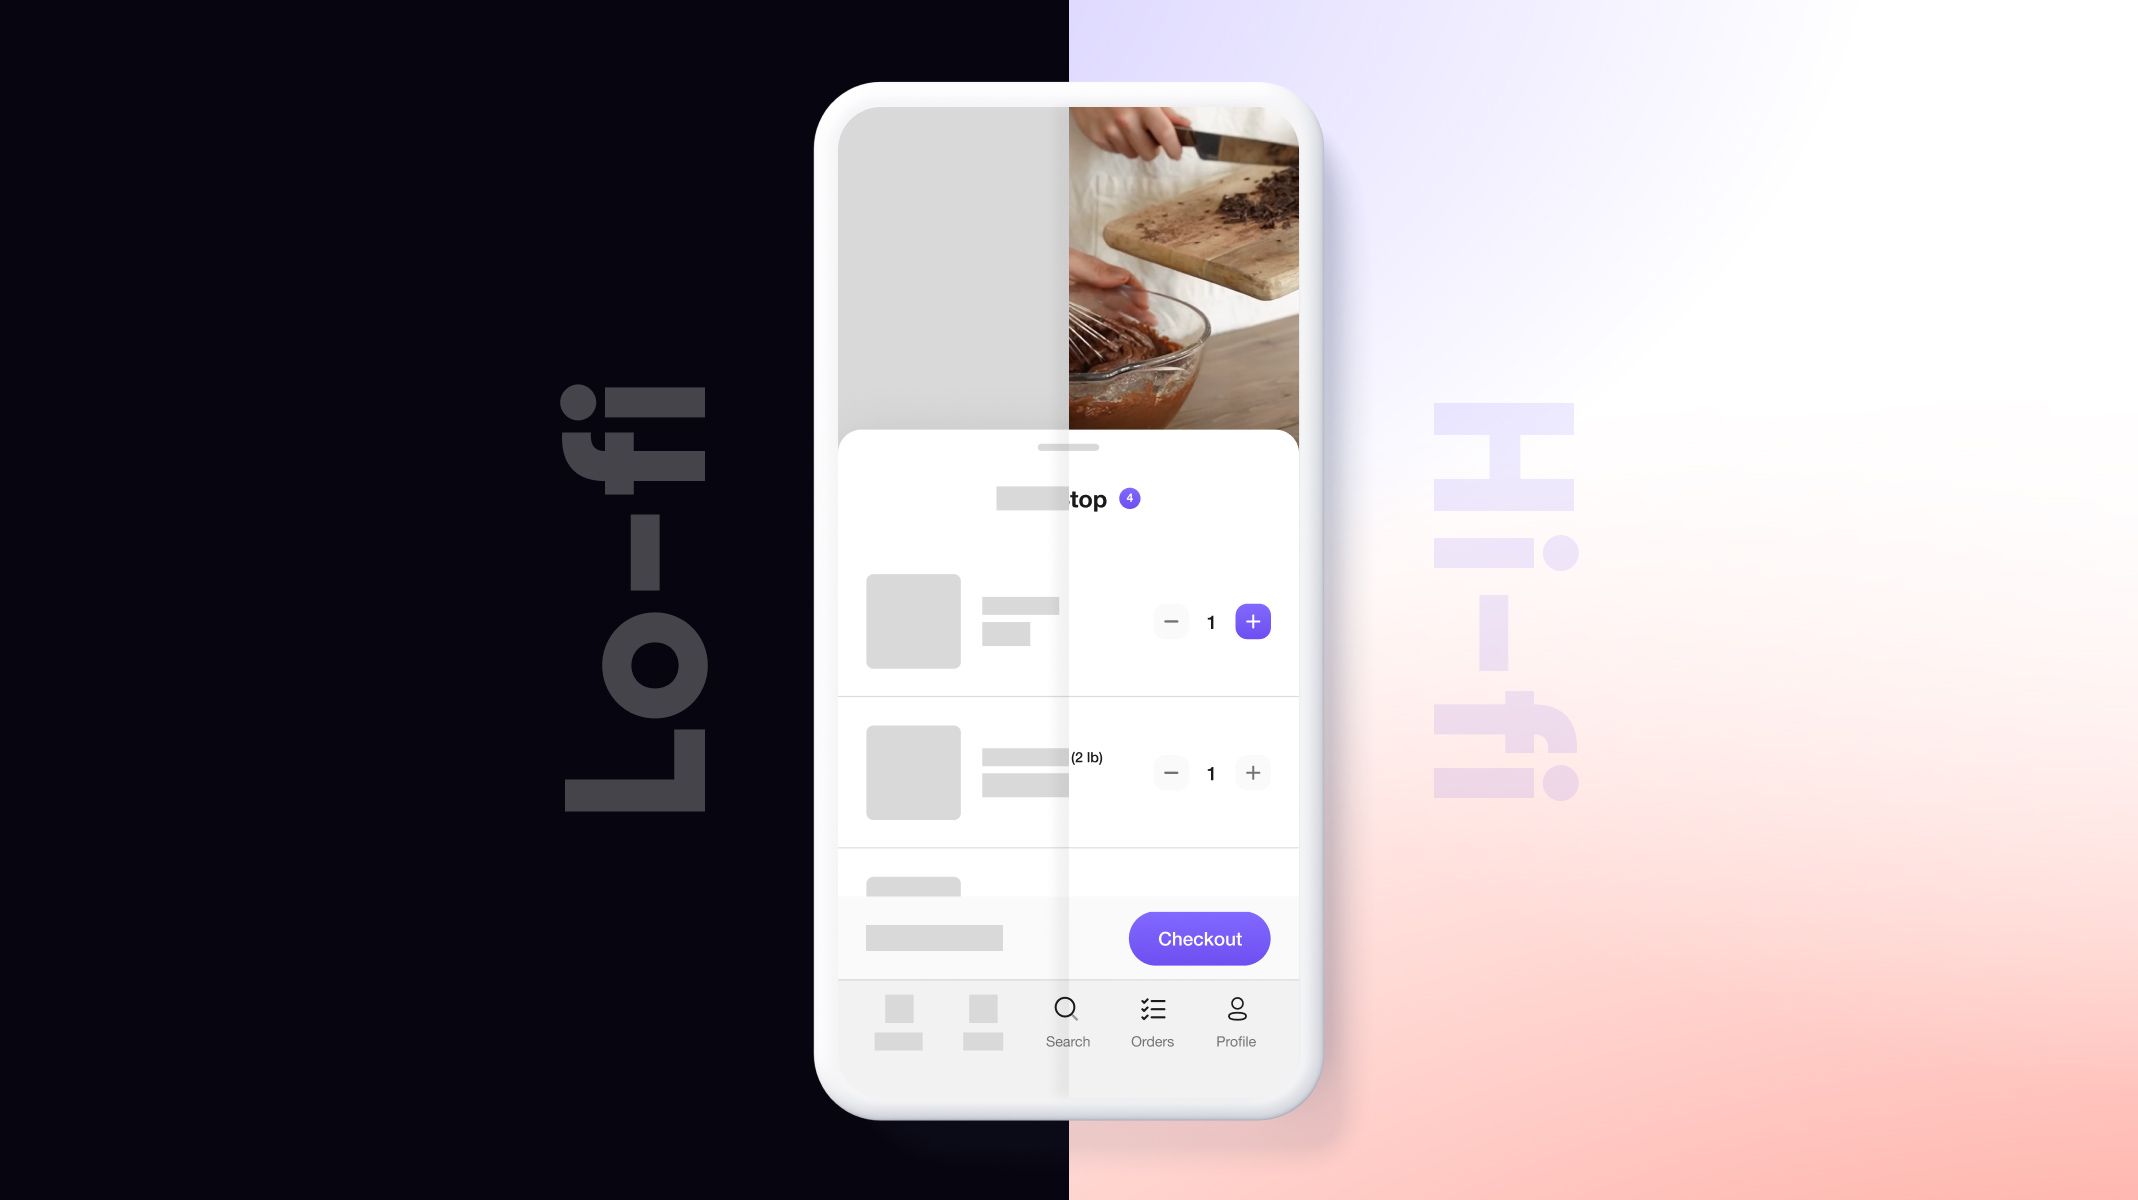
They can be quick and rough, useful for early-stage testing and learning. For example, low-fidelity prototypes can be used to illustrate a proposed experiential solution. These might take the form of simple sketches and storyboards or even rough paper prototypes of digital interfaces.

Contrastingly, high-fidelity prototypes can be fully formed and detailed—in other words, something closer to the primitive versions of an end product. These are generally used for testing or for pilot trials.
Click here to learn more about the differences between lo-fi and hi-fi prototypes
Who should prototype?
Everyone! Prototyping is an opportunity to break down walls between disciplines. Designers should prototype so that they can learn the limitations, complexities, and possibilities of the project in question. Engineers, developers, and coders can prototype to test feasibility, of course, but also to get more involved in the creative process.
How do you get started with prototyping?
If you’re new to prototyping, you might be unsure of where to start—but don’t worry. Follow this simple 6-step process to begin.
1. Ask these key questions first
Before you start, you need to answer a couple of “big picture” questions. Every prototype should be created with a context in mind: the market, the users, and the central goals for the prototype.
Some key questions would include:
- What problem, need, or discovery am I looking to address?
- What is the end goal for the prototype? What are its values and functions?
- Who is the target audience? Are you trying to solve problems for certain users? Who are these users, and what are their specific problems?
- What are the desired final deliverables?
- How much time do I have to allocate to this prototype?
2. Start with the visual side of things
Once you're clear on the above questions, you're now ready to start working on the visual element—so gather your writing instruments of choice, be it pencil and paper or whiteboard and marker.
It’s best to start small and not venture directly into drawing actual interfaces. Start with the elements listed below to ensure you’re keeping the user in mind right from the get-go:
01 | User Flows – Identify user flows. Imagine how the users will meet their goals by interacting with the system.
02 | Information entities – Each user flow will show a series of potential user inputs and outputs. Identify what they are, how they relate to the user behavior and expectations, what interactions they are involved with, and how they work.
03 | First sketches – After gaining an idea of who will use the system, what they are going to do, and the tools they will rely upon, it’s now time to see precisely how they will do all this. Sketch out your user flows. There’s no need to create the layout yet, just get the functionality resolved.
04 | Sketch a rudimentary structure – After your user flows are fully sketched out, you will have a better idea of the best layout for your product. This will include content (text, photos, video, etc.) that’ll show up as basic boxes or scribbles. When written by hand, they won’t fit to size, so all structure and content is just for the sake of visualization and not for actual use.
This process can continue for as long as you want. However, quick tip: it’s time to move to the next step once you have clearly outlined a user flow and the process for completing that flow.
3. Choose the right kind of prototype
Before you create a prototype, consider your key goals as well as the time and resources available. Low-fidelity prototypes make sense in the early stages, but you’ll want to move on to hi-fi prototypes as you get closer to the final product.
4. Turn sketches into low-fidelity prototypes
The next step is to slowly transition into sketching with your tool of choice—whether analog or digital.
Paper prototypes can go a long way to effectively conceptualizing the project. Alternatively, you can create something as simple as an interactive wireframe built in a digital tool. At this point, the focus should no longer be on creatively adding all necessary elements—instead, it should be on effectively organizing the structure of your designs and the assets they include.
Don’t be afraid to stick around in the low-fidelity realm for a while. While you might want to rush through the process, by fully stress-testing your low-fidelity prototypes, you’ll be able to discard some incorrect assumptions early into the design process.
If low-fi prototypes are all your project needs, that’s fine. However, if you need to take your testing and learning up a notch, then now’s the time to move onto high-fidelity prototyping.
5. Transitioning from low-fidelity to high-fidelity prototypes
As your fidelity advances, so should your prototype’s interactivity, design, and content. Your hi-fi prototype(s) should more closely resemble the final product, thereby providing you with more detailed feedback—especially regarding usability and interactivity.
Think about it: a low-fidelity sketch of an iPad tells you nothing about how it’ll actually perform, or what the user experience (UX) will be. It will give you a rough overview of what you hope it can do, but you won’t be able to test out how it will feel.
High-fidelity prototypes bridge the gap between high-level expectations and reality. Have you effectively built out your design intention? Does it perform as expected? Are there any areas that users appear to be struggling with?
By creating high-fidelity prototypes, you can answer these crucial questions before you go ahead and develop your final product. Make sure to closely observe how users interact with the prototype in its current state and ask for detailed feedback on how the experience feels.
6. And finally, moving from high-fidelity prototypes into code...
Last but not least you’ll need to turn your prototype to code—if you’re producing a digital product, that is. There’s no need to code if you’re producing a table and chairs.
Effective prototyping makes life as swift and seamless as possible for coders. They don’t have to go through multiple iterations as you come back to them with an endless series of new demands and apologetic “I’m so sorry, but could we change just this one thing?” requests.
Instead, you’ll have a clear idea of what you want to produce: how it should look, feel, and perform. It’s then the coder’s job to translate this into a fully-fledged product, using your high-fidelity prototypes as a point of reference.
Prototyping: the catalyst powering effective product development
Prototyping is perhaps the most important part of product development. It bridges the gap between ideas and products; between assumptions and insights. It allows teams to collaboratively build out their ideas before testing how they really perform. More importantly, it allows them to gather critical user feedback so that they can produce a better end product.
ProtoPie helps designers bring their ideas to life in the form of high-fidelity interactive prototypes. Turn those design ideas into clarity, insights, and business gains. To learn more about how we can help you get from concept to creation, explore our website or try ProtoPie for free!
.jpg?fm=webp)